Grill Nation

All Griller. No Filler. 100% BBQ.

  • Home
  • About
  • Contact

Charcoal-Grilled Tri-Tip Steak Ultimate Feast

August 25, 2022 By Dr. T

Steaks on the grill - indirect heat
Steaks on the grill – indirect heat

We were in the mood for steak done up just right on our Weber Charcoal Grill. We went with uber-flavourful tri-tip steaks – times two – perfect for slicing and serving to a small crowd.

While we were at it, we thought we’d add not one but two BBQ-worthy salads and mess of bacon-heavy baked beans. Take a look, Nation – get hungry, and inspired.
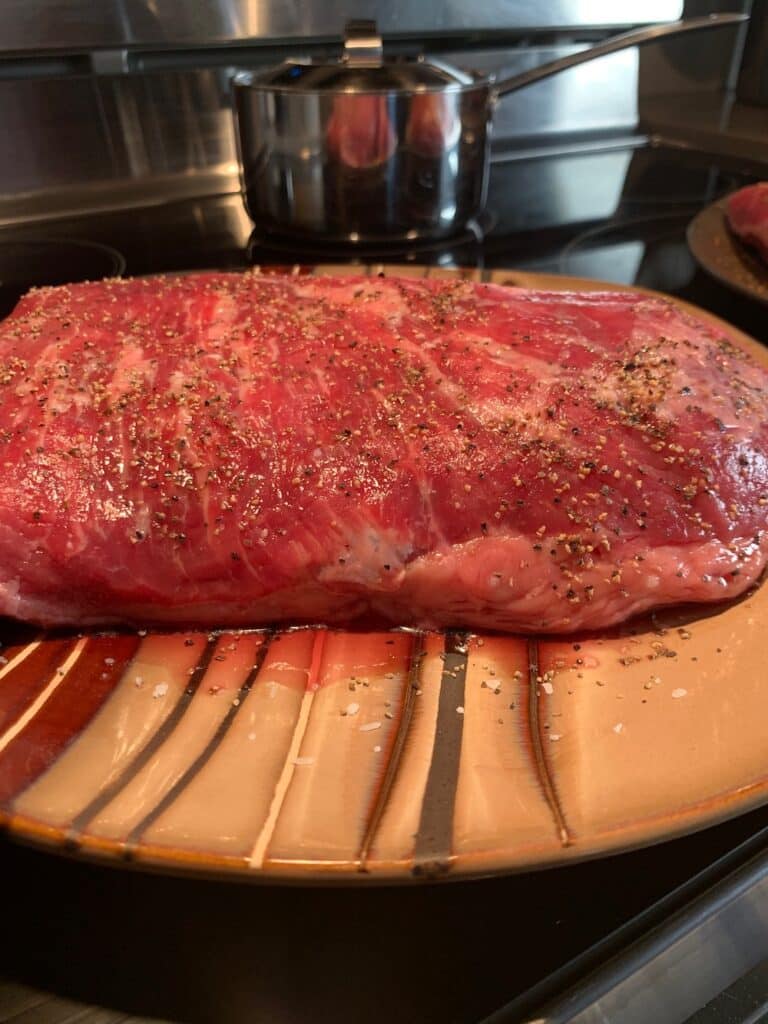
Simply Seasoned (Salt and Pepper) Tri-tip Steak


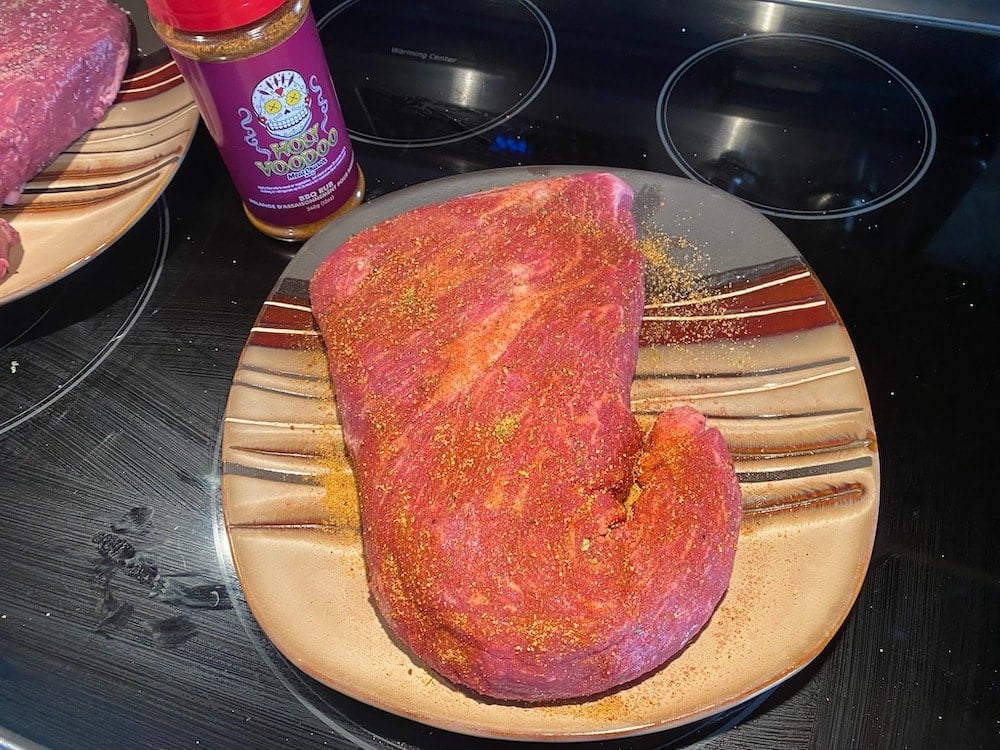
Seasoning the meat with Meat Church's Holy Voodoo BBQ Rub
Seasoning the meat with Meat Church’s Holy Voodoo BBQ Rub

Not sure what it’s like in your parts, but tri-tip isn’t always easy for us to find. We like it for its marbling, its tenderness and the fact that it just loves the grill. So when we saw these babies, we grabbed them.

We seasoned them in two different ways: simple salt and pepper for one (can’t go wrong), and a generous dose of Meat Church’s Holy Voodoo BBQ Rub for the other (can’t go wrong there either).
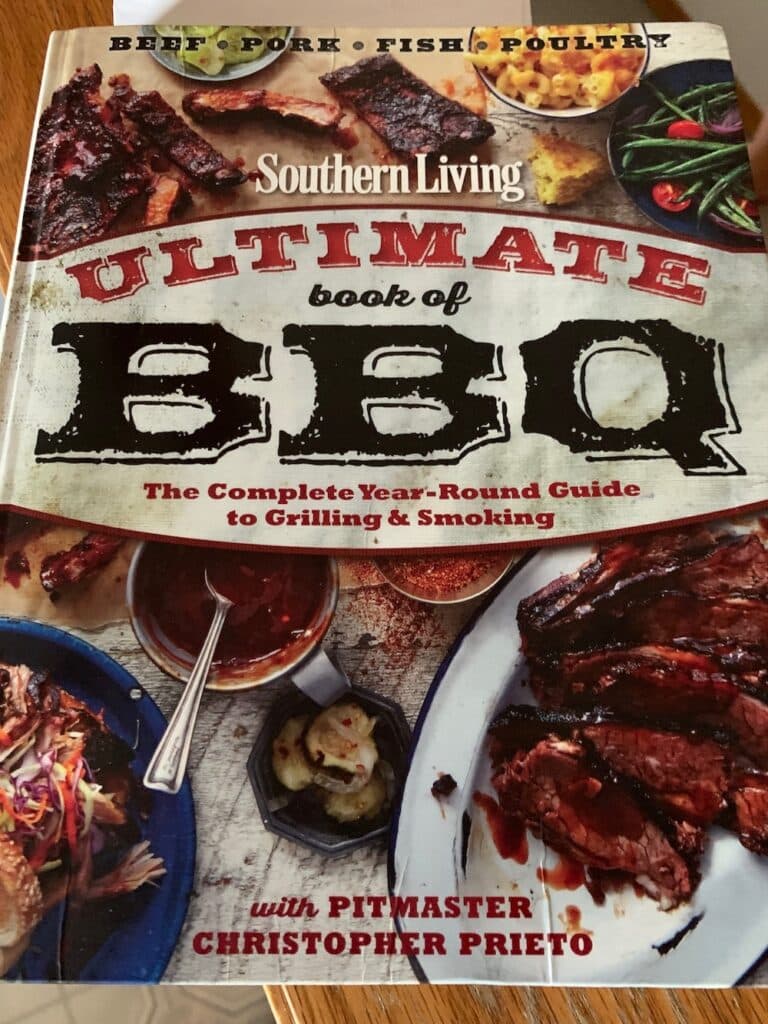
Southern Living's Ultimate Book of BBQ by Christopher Prieto
Southern Living’s Ultimate Book of BBQ by Christopher Prieto


With steaks ready for the grill, we got our sides on. Must give a big shout out to Southern Living’s Ultimate book of BBQ by Christopher Prieto for recipe and inspiration. (Let’s just say the pages of this go-to book are well-worn in our home.)
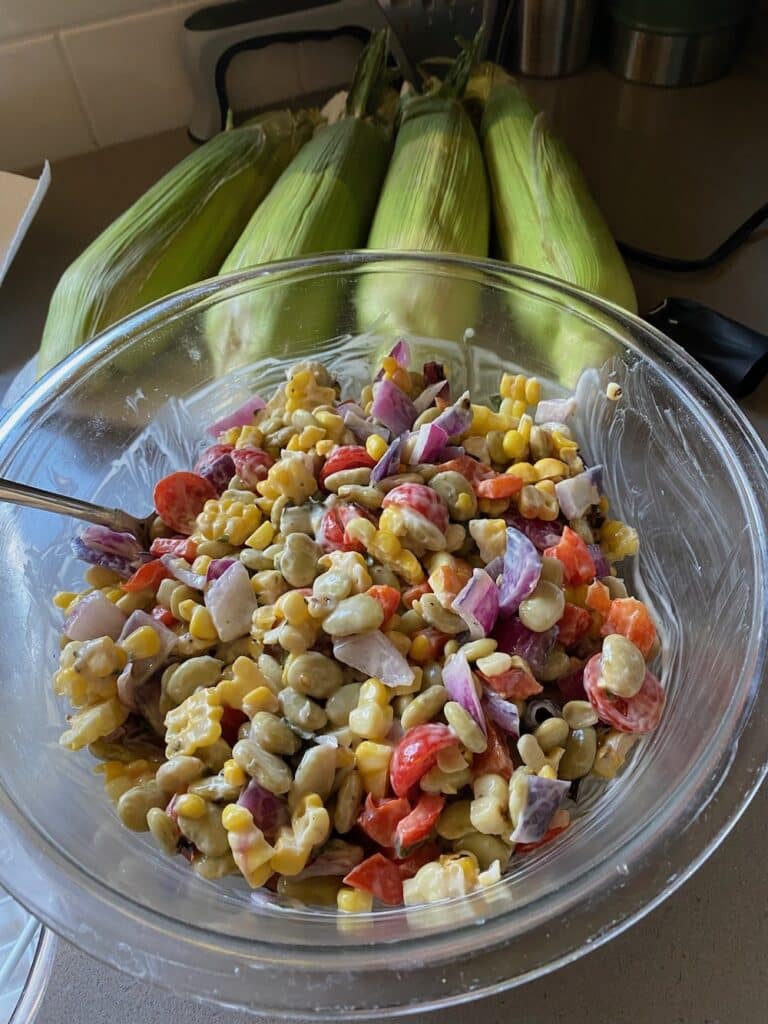
Prieto's Grilled Corn and Butter Bean Salad
Prieto’s Grilled Corn and Butter Bean Salad

Pieto’s Grilled Corn and Butter Bean Salad is a standout – a key ingredient being – wait for it – the grilled corn. We fired up our TEC gas grill for this purpose and threw on some cobs. We’re pretty sure it’s the corn in this one that makes going back for seconds almost mandatory.
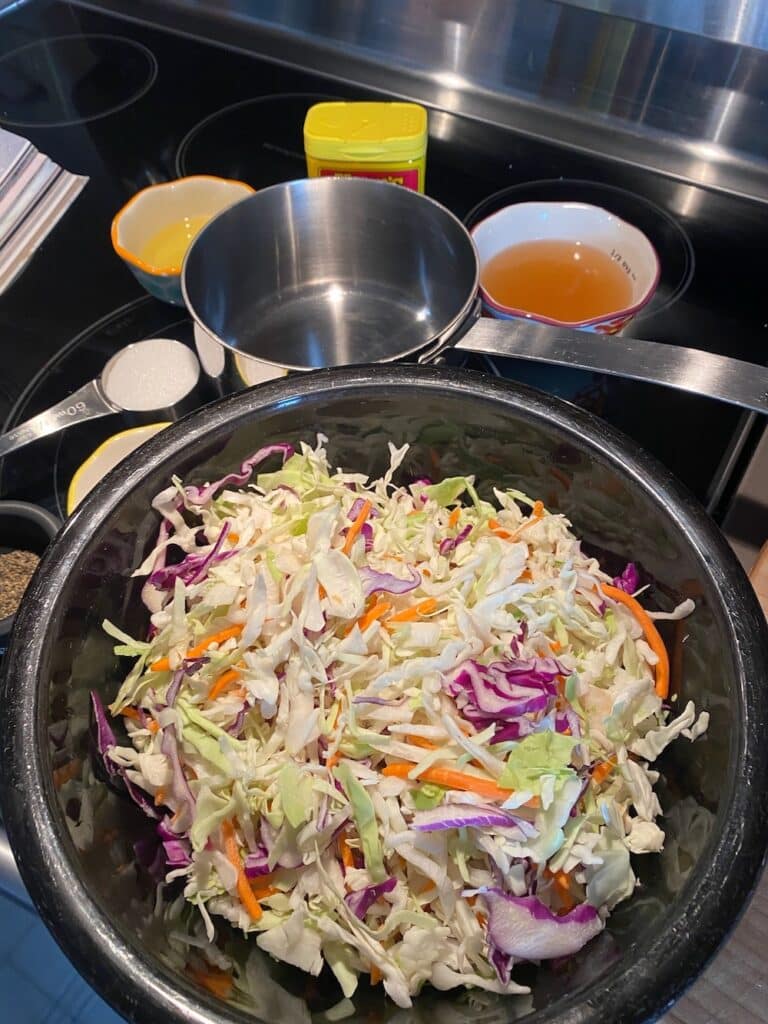
Coleslaw Prep
Coleslaw Prep

A tangy slaw balanced out the creamy richness of the corn and bean salad…
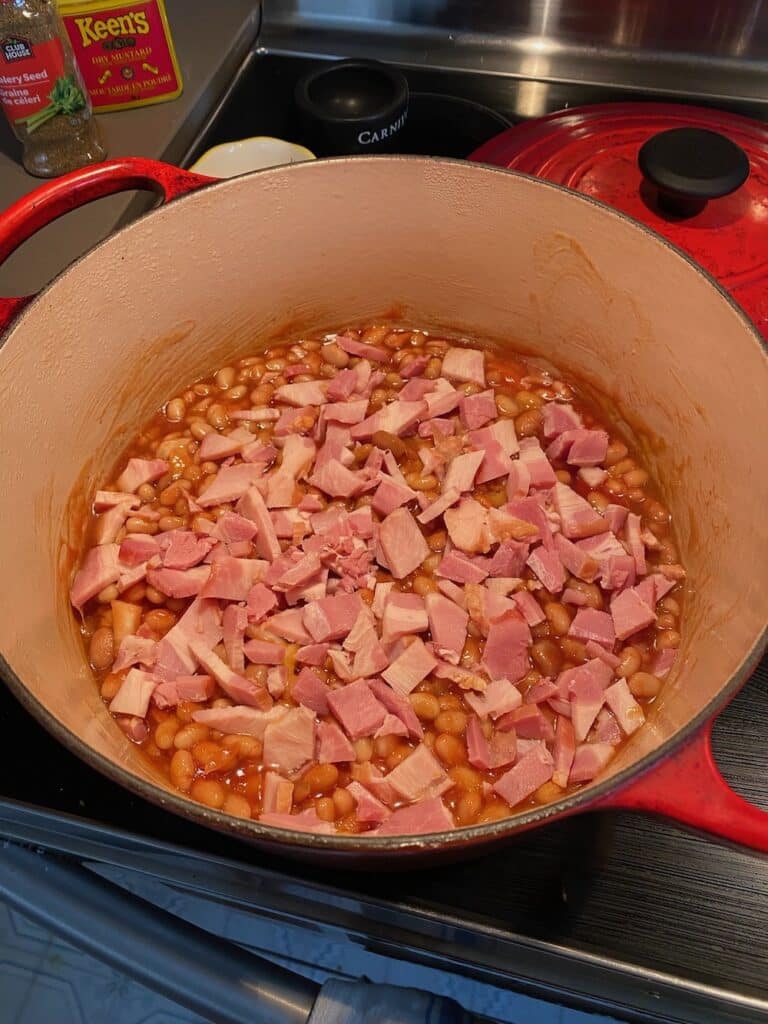
Prepping the Baked Beans with a plethora of bacon

…and a bacon-rich baked bean dish rounded out the supporting cast for the feast. Now to the meat.
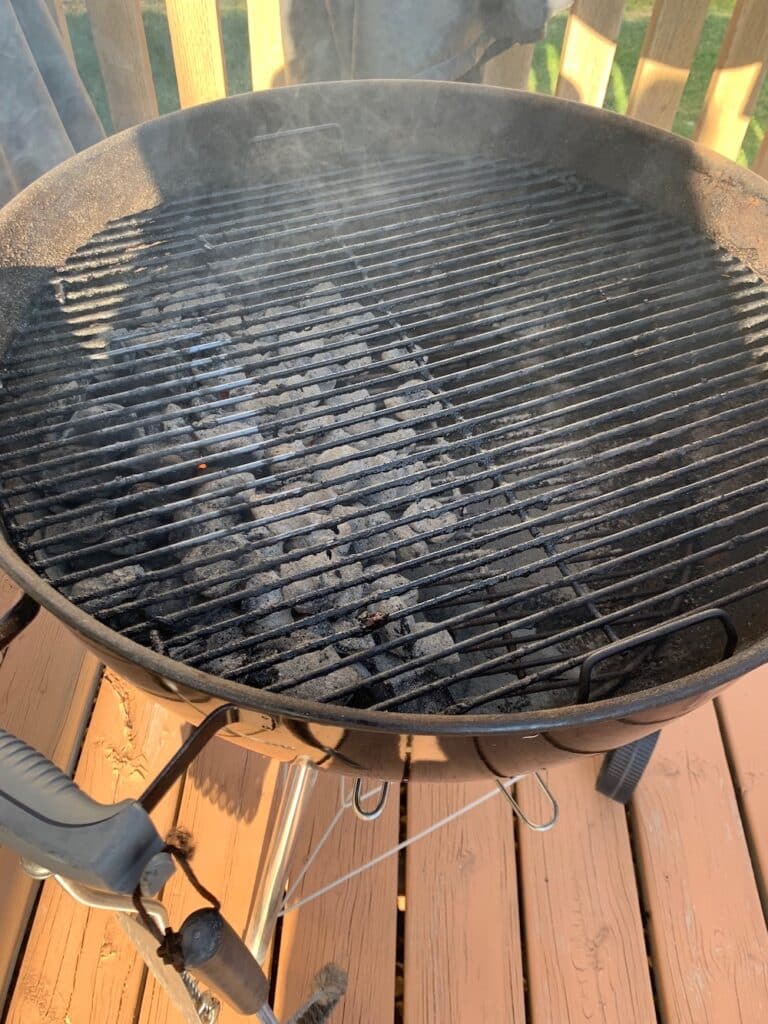
Firing up the Weber Grill

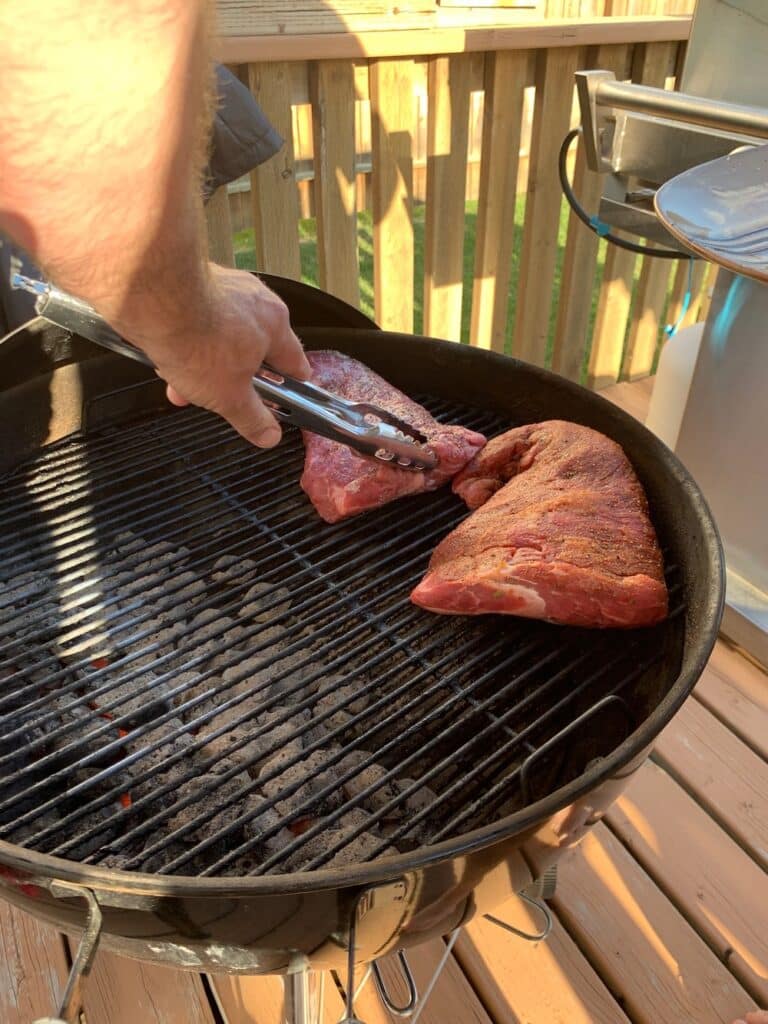
We got our charcoal going on one side of the grill to create an indirect heat situation.

Steaks on the grill - indirect heat
Steaks on the grill – indirect heat

When things were hot and ready, we slapped on the steaks, covered them up, and kept then on for about 20-25ish minutes to get a nice medium rare.
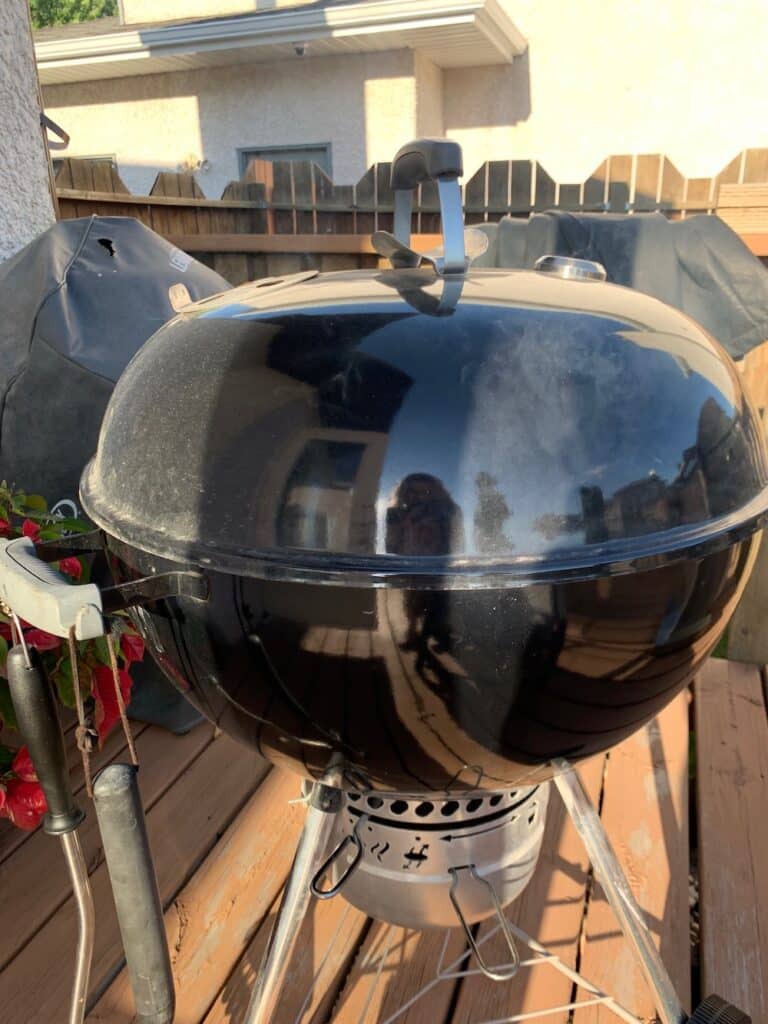
Weber Charcoal Grill - Covered
Weber Charcoal Grill – Covered

Check out the results below. Awesome colour, right?
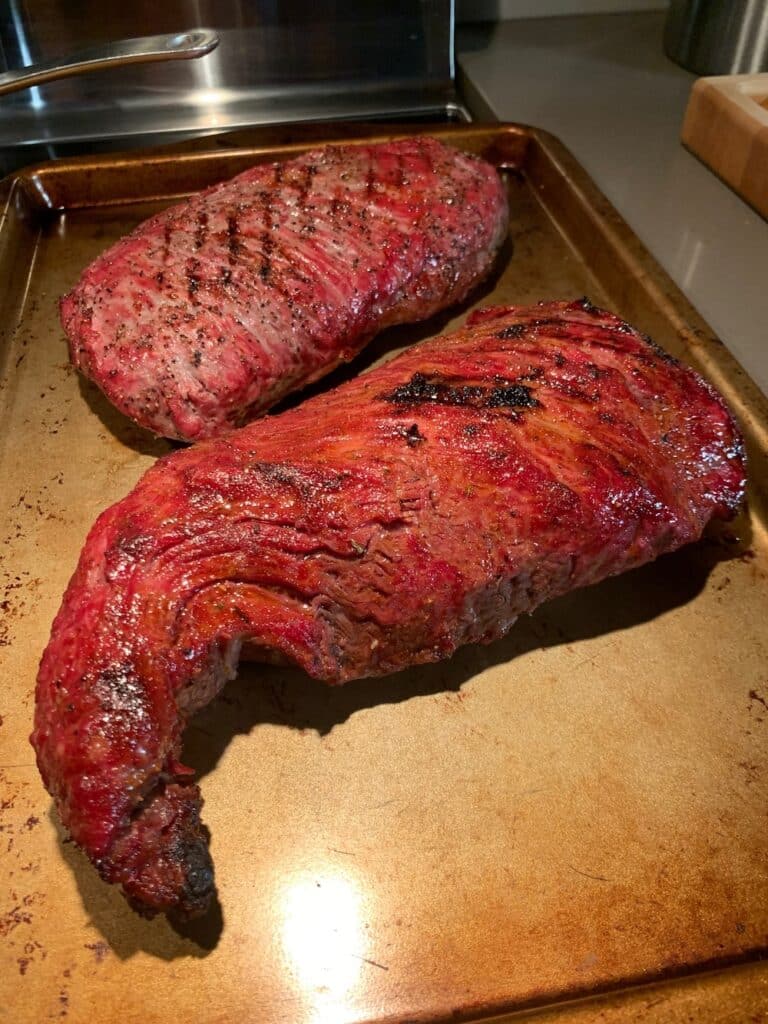
Tri-Tip Steaks resting

We were feeding a small group, so we sliced it all up and urged everyone to try both seasoning styles.

The verdict was that both the salt and pepper and Holy Voodoo steaks tasted great. The take-home message was that the salt and pepper was no slouch at all. So if that’s all you have on hand, you’re good to grill.
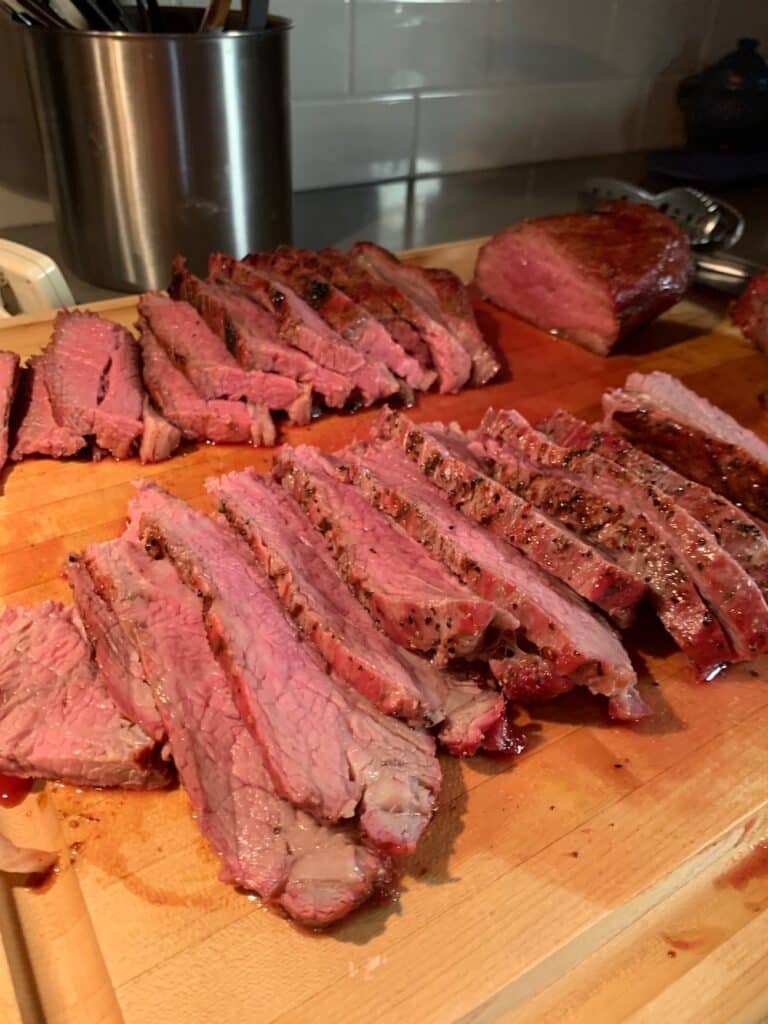
Steak sliced and ready to serve!

Here’s a (first) helping plated and ready to eat. Plenty of seconds and leftovers to enjoy!

Now go get yourself some tri-tip and have some fun.
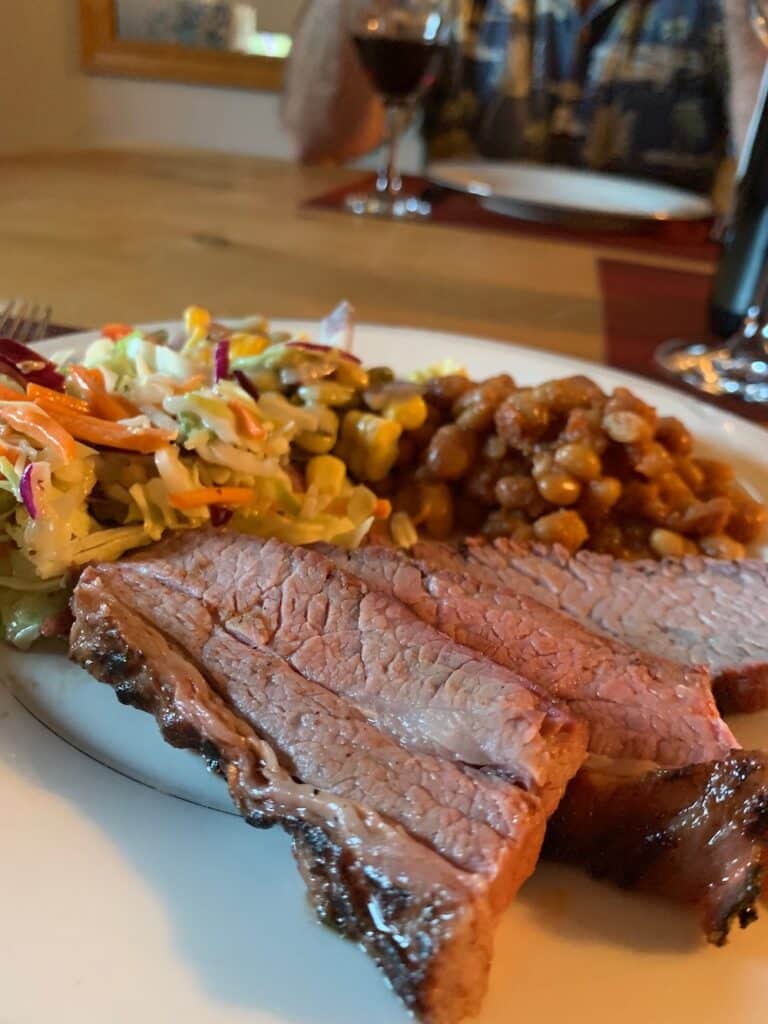
The Feast - Plated and Ready to Rumble
The Feast – Plated and Ready to Rumble

Filed Under: Love Your Meat Tagged With: Baked Beans, Christopher Prieto, Coleslaw, Holy Voodoo Rub, indirect heat, tri-tip, tri-tip steak, weber charcoal grill

Pork Shoulder on the YS640S Yoder Smoker

June 30, 2021 By Ms. K

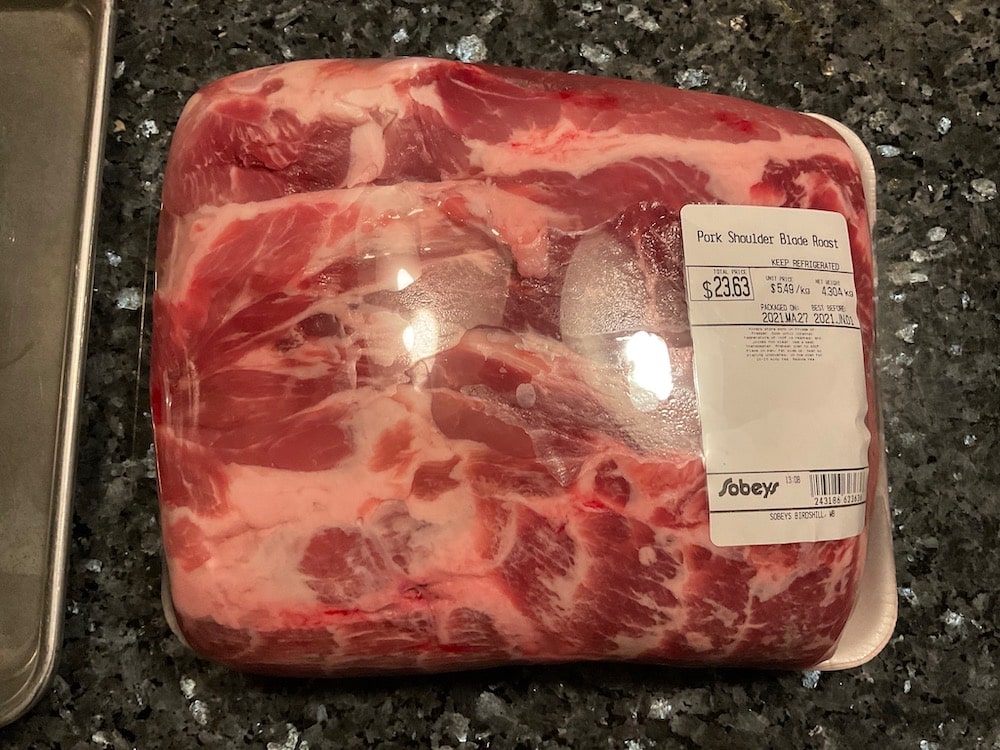
9 1/2 lb. Pork Shoulder Fresh from the Grocery Store

One of the first things we tried on our new Yoder Smoker’s YS640S Smoker was a 9 1/2 lb. (4.3kg) pork shoulder blade roast. Turned out that pulled pork heaven was a mere 14 hours or so away. Did we learn some stuff? Yup. Would we tweak things next time around? Sure. But was there a delicious learning curve to be had? You’d better believe it.


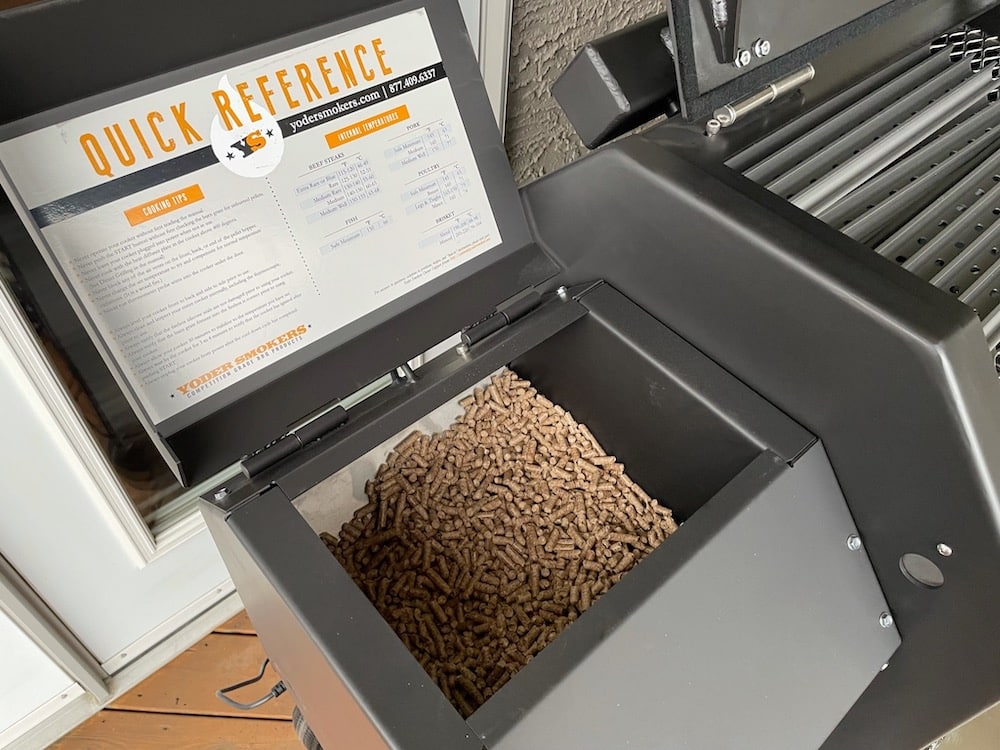
Hopper filled with pellets

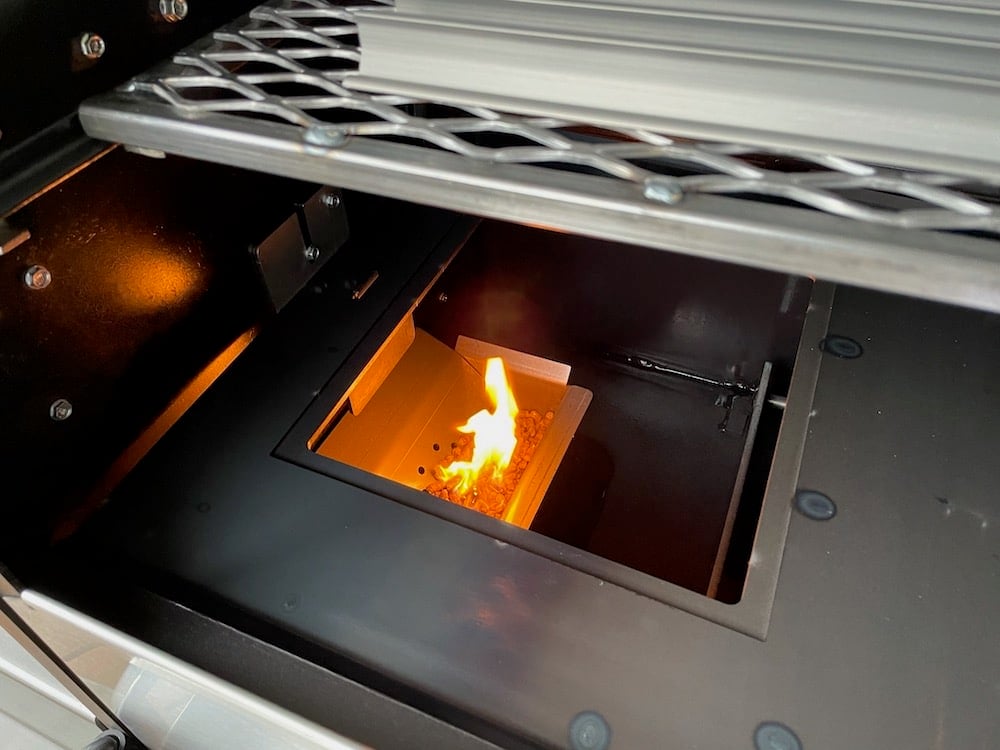
Our epic day began at about 4:30 am to get the smoker going. (The alarm was set for a more decadent 5:00am wake up call, but we just couldn’t wait.) We loaded up the hopper to the max with 20lb of wood pellets (Pitmaster’s Choice Premium Fruit Blend Pellets to be exact). We set the smoker for a super-low 200F and waited about 30 minutes for it to get to temp.

Yoder Smoker S640S We Have Fire
Yoder Smoker YS640S We Have Fire

Found the fine looking roast below at my local grocery store where pork shoulder roasts happened to be that week’s featured item. Always nice when that happens.

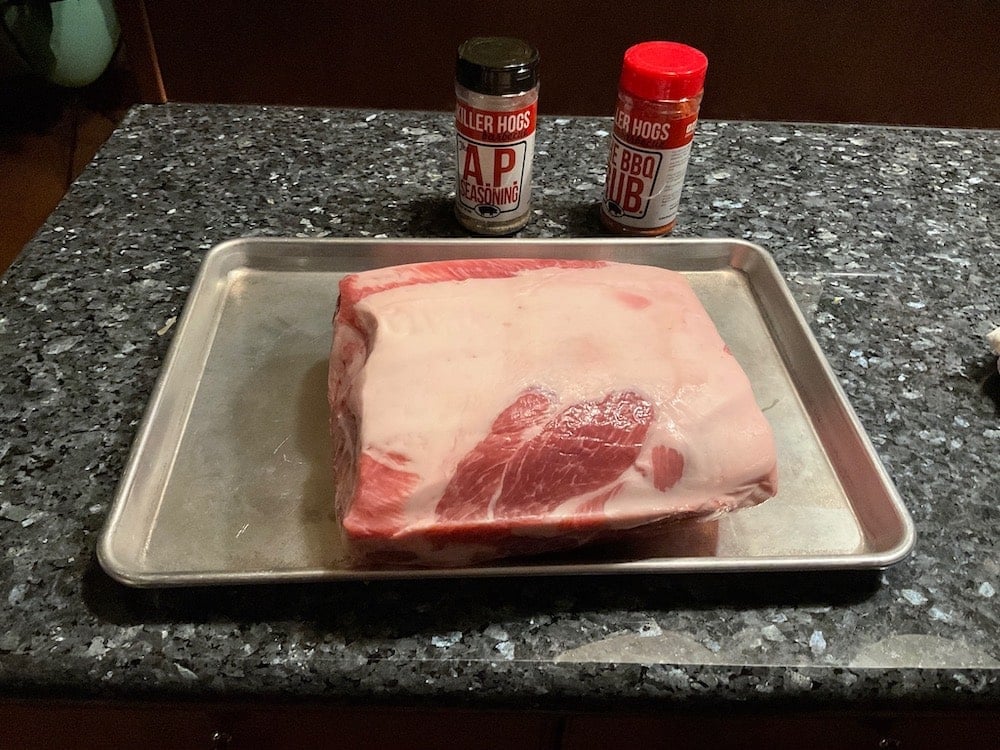
Pork Shoulder Ready to Season

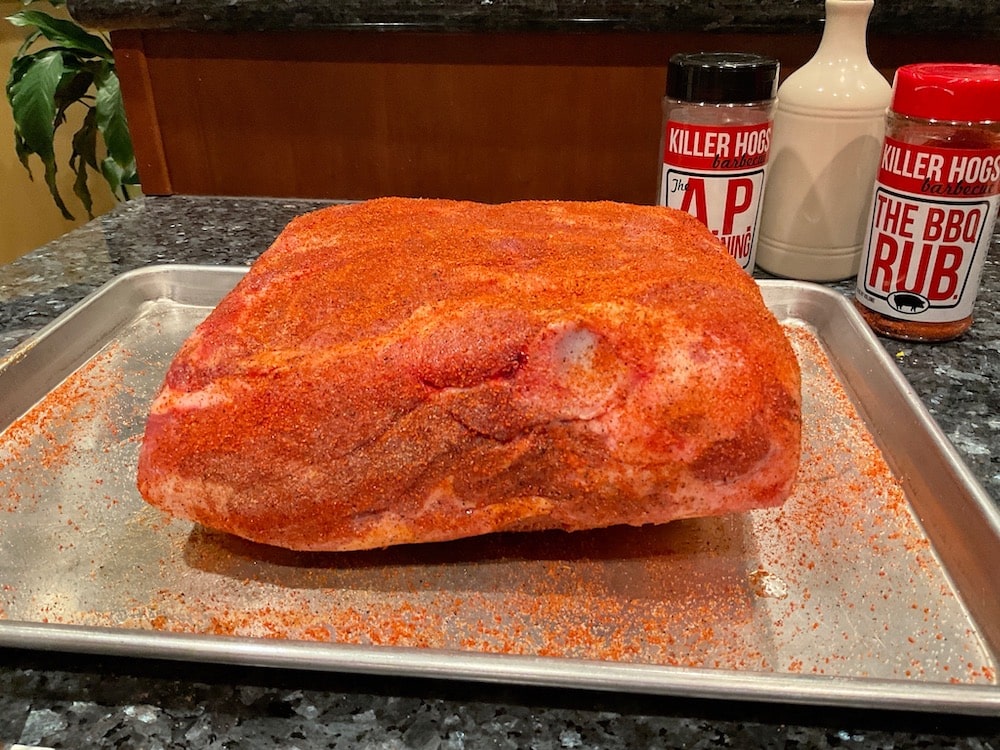
As we waited for the smoker to be ready, we rubbed the roast with some canola oil (mustard would have worked, too) then seasoned with a one-two punch from Malcolm Reed’s Killer Hogs line of spice blends: A.P. Seasoning and The BBQ Rub. (For you Grill Nation Canucks out there, we order our Killer Hogs and other premium BBQ spices spices from The Rub Shack located in London, Ontario. Great selection!)

Seasoning up the Pork with Killer Hogs Seasonings

For our cooking method, we decided to follow pitmaster Malcolm Reed’s ultra low-and-slow, no-wrap pork shoulder method. Definitely check out his detailed video tutorial for a masterclass session.


The no-wrap method aims to infuse adequate smokey goodness into the meat and allow the roast to develop a beautiful bark. You’re shooting for an internal temperature of about 200F (195-205F). But you do need time. Lots of time. (In the video, Reed’s roast takes ~ 14 hours, and ours came in around the same. More on this below.)

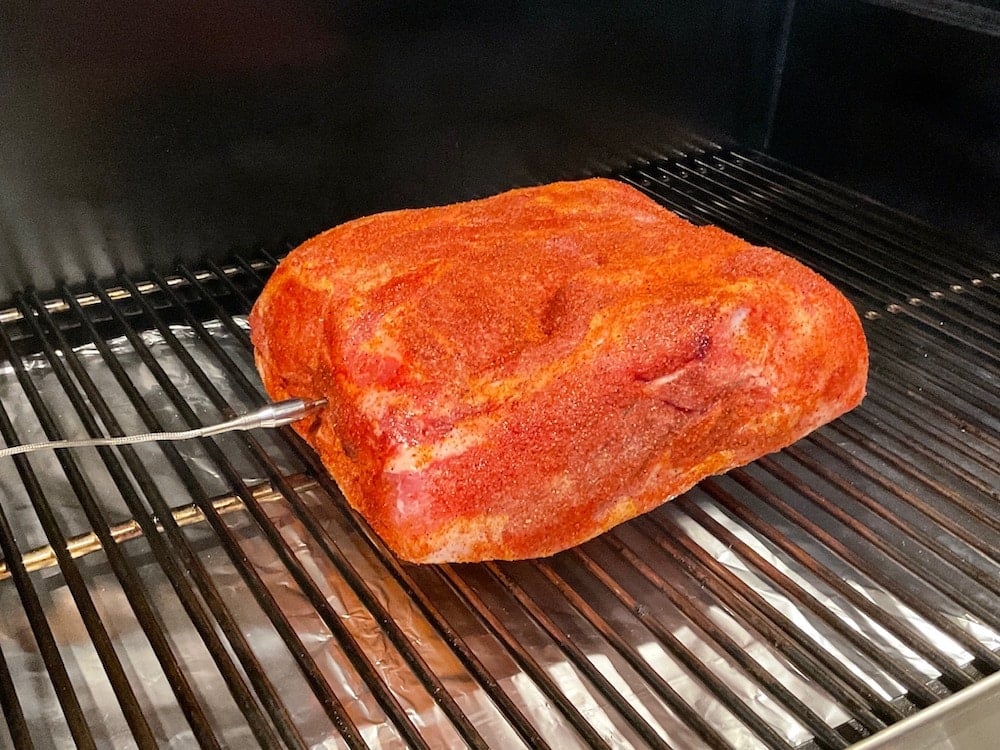
Pork Shoulder Getting Started on the YS640S

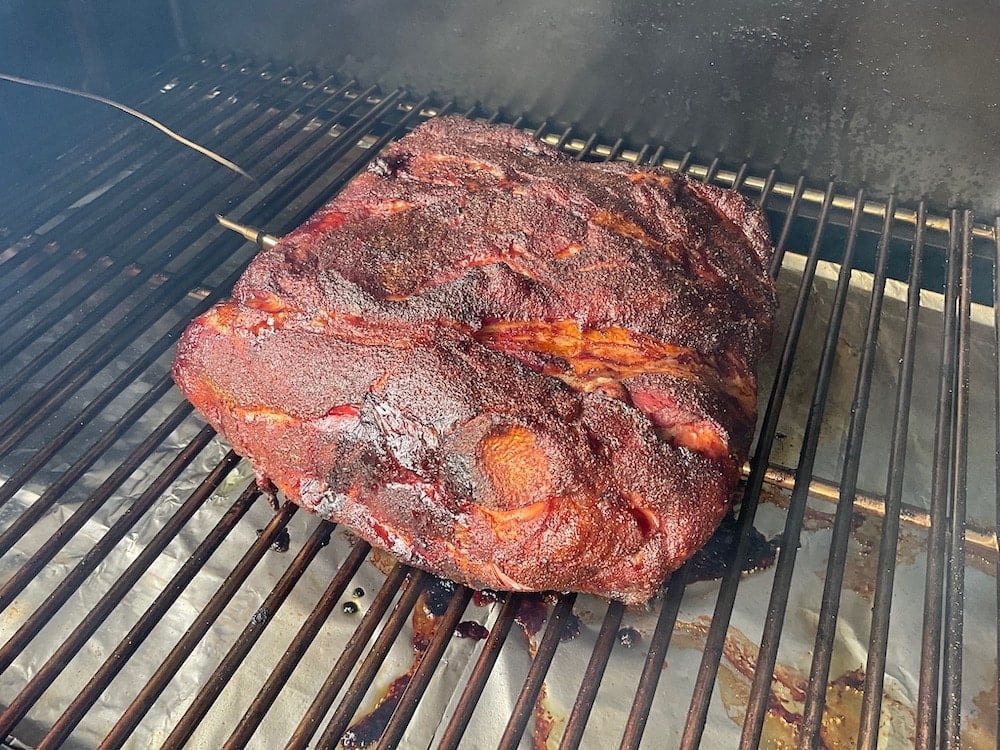
For hours and hours, our roast was a-smokin’. We kept the smoker at 200F for about 12 hours. During that time beginning at about the 8 hour mark, the roast’s internal temperature stalled out as expected between 158-170F. It literally wouldn’t budge. (Using our smoker’s built-in Fireboard technology, we were keeping track of all this remotely with an app – but we did step out on the deck fairly often to peek.)

This ‘stall’ point is of course the point where other methods have you wrap the thing, urging those internal temperatures to keep on rising.

Pork Shoulder After Hours of Smoking

We waited as patiently as we could through the stall. But after about 4 hours seeing no change (so, about 12 hungry hours now into the process) we decided to bump up the smoker’s temperature to 250F. It was getting late, we were getting hungry, and we’d been smelling smoked meat all day for Pete’s sake. Anyway, raising the temperature got things moving in the right direction.

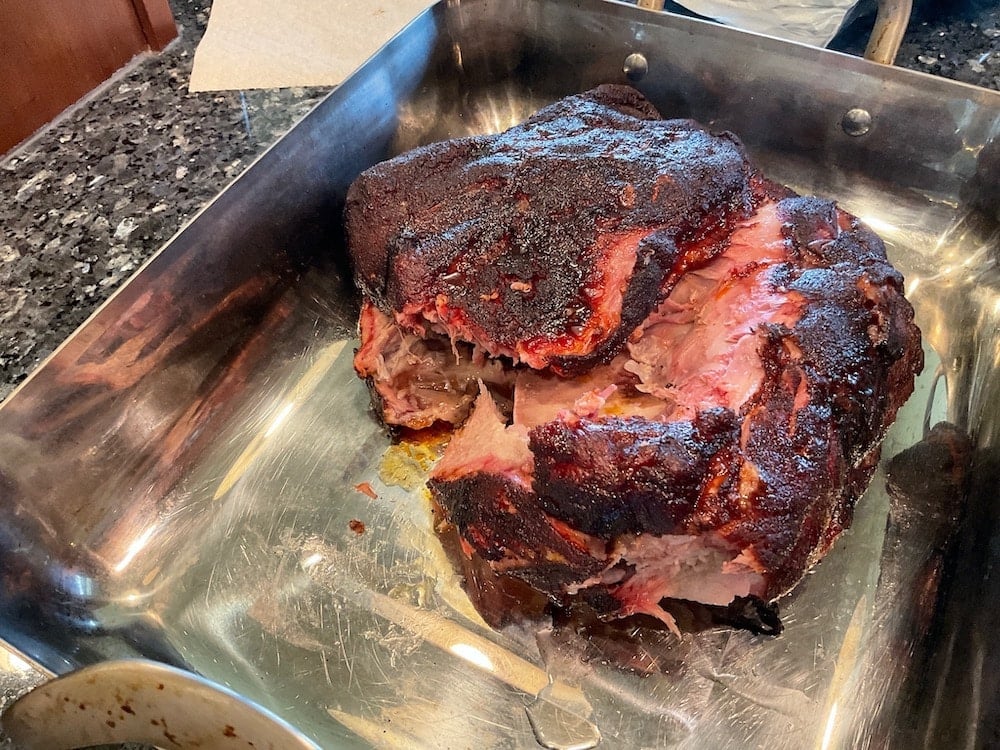
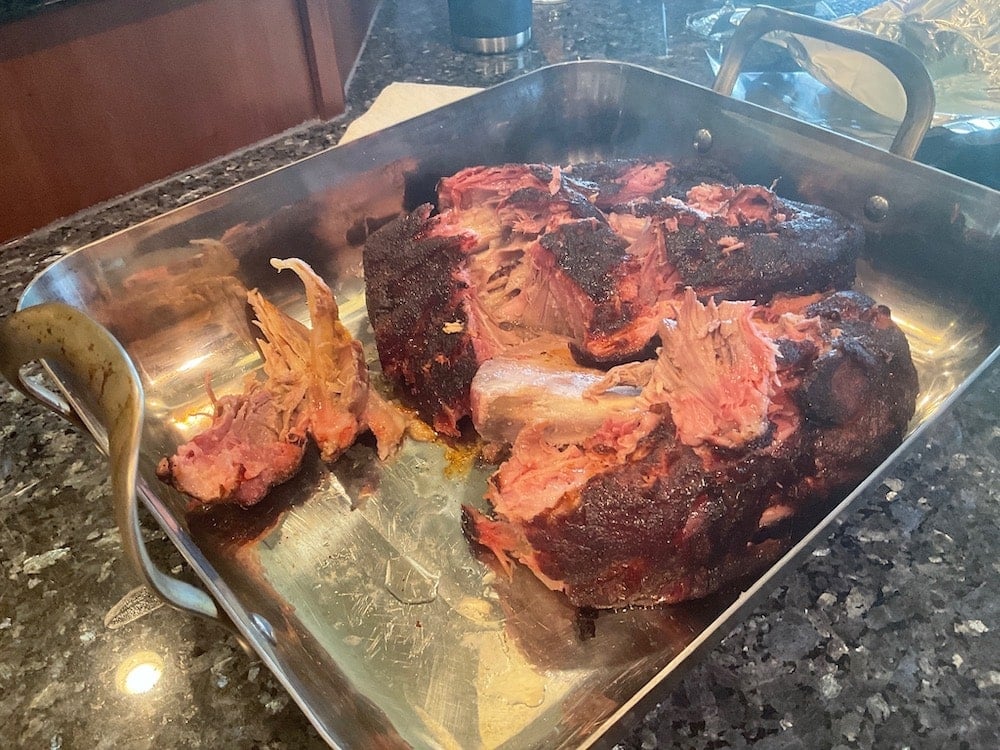
Falling Apart Goodness

The roast came off the smoker at about 7pm with an internal temp of 190F (a little below what Reed recommends). This was 14 hours after we put it into the Yoder.

Then we had to rest it for about 30 minutes which may have been the hardest part of all. But look at these pics – the meat is as tender and buttery as it looks, and the bark had a pleasing bite.

Pork Shoulder Falling Apart and Ready to Go

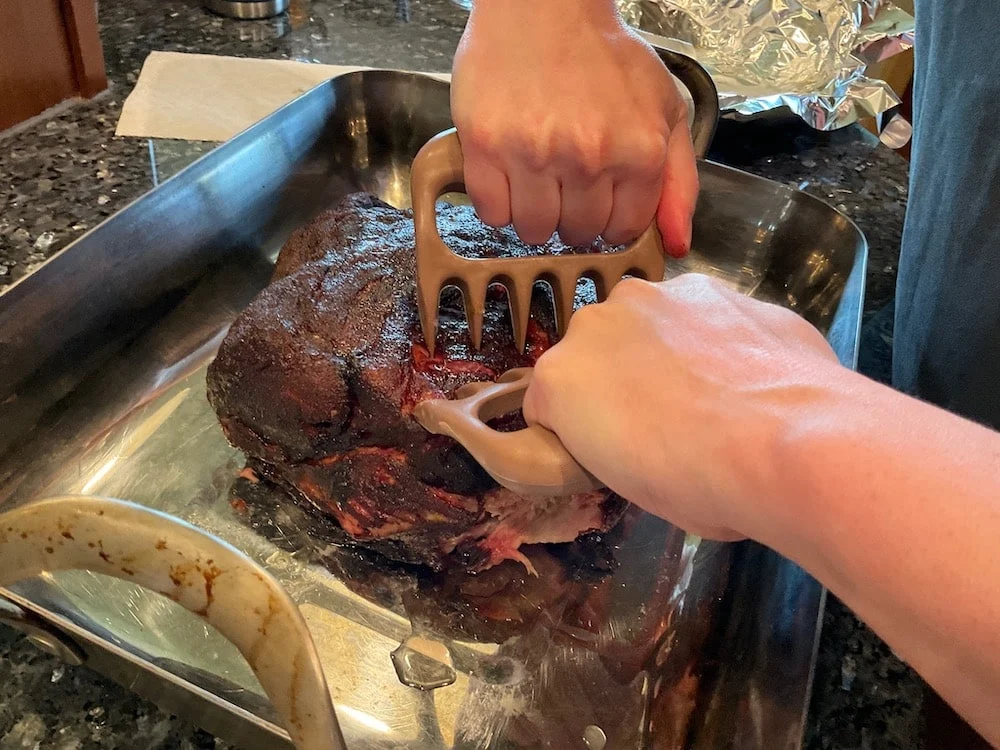
These Bear Claws are an indispensable tool for pulling the pork apart.

Shredding the Pulled Pork with Ultra-Handy Bear Claws

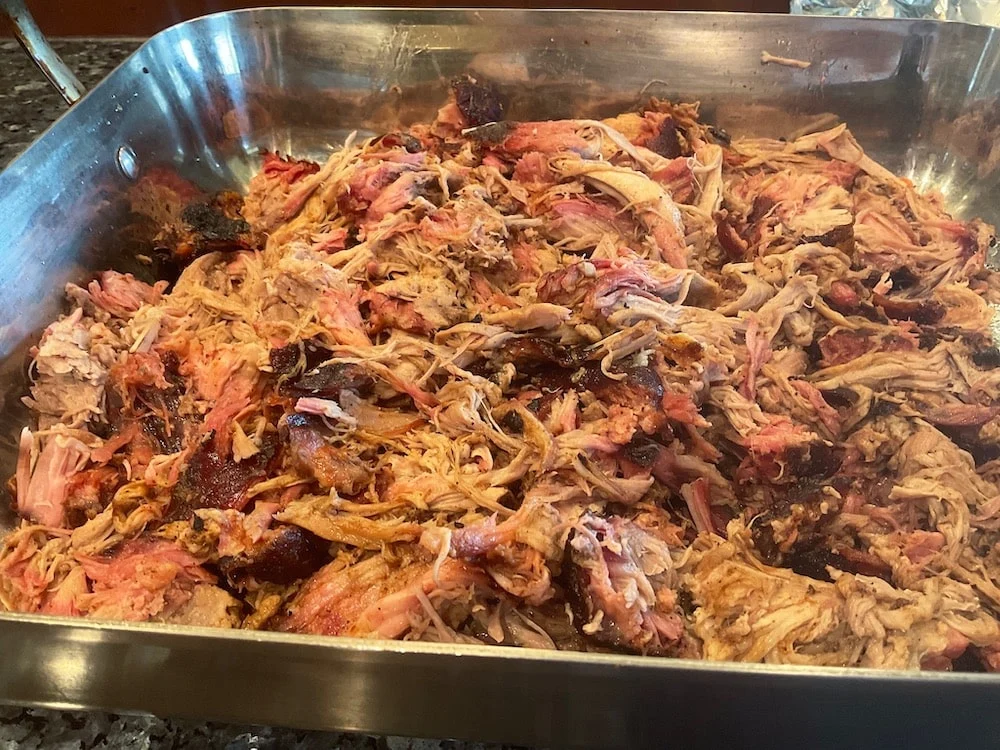
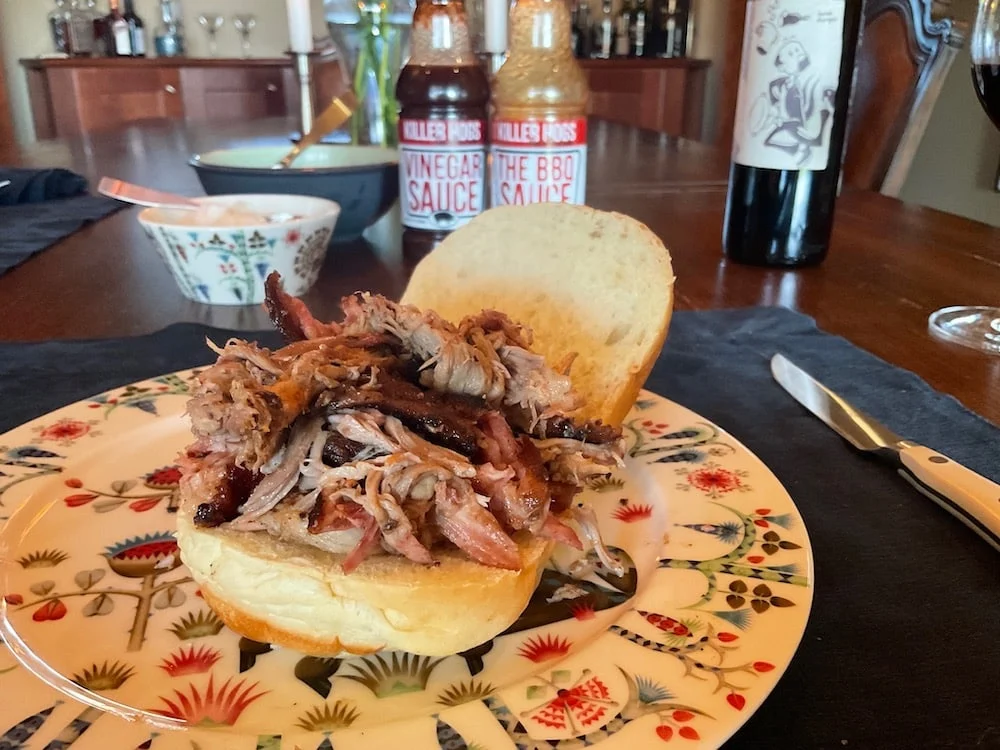
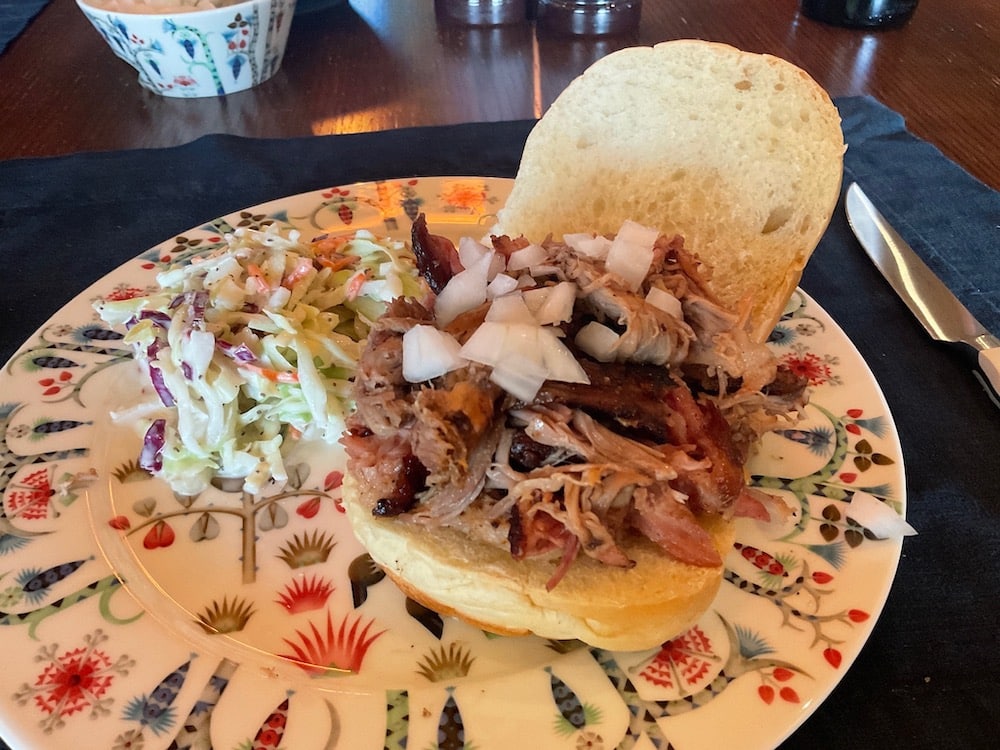
…and look at what we made! Mmmm-mmm. We feasted on pulled pork sandwiches for days and shrink-wrapped and froze three generous portions for future meals. Hard to argue that all that time and waiting isn’t worth it when it tastes like this.

Pork Pulled to Perfection

Our new Yoder YS640S definitely shone throughout the process and made start up, smoking and cleaning up ultra easy. I should note that we did end up topping up the hopper with pellets several hours in. AS we get acquainted with this machine, we’re finding that it uses about 1 1/2 lbs. pellets per hour, so for a huge smoking day like this one, simply filling once isn’t enough. Something to keep your eye on.

Pulled Pork Sandwich Au Naturel

All in all we buy the logic of Reed’s no-wrap method. The meat was certainly buttery tender, perfectly infused with smoke, with a pleasing bark. It is a long process though.

You’ll notice that in Reed’s video, he puts his roast on overnight aiming to serve pulled pork at lunch. So, you’re sleeping during a lot of the waiting time, and not really tense about whether it will be done or not. Putting it on in the morning and aiming for dinner – even a later one – got a little tense as we started to wonder if we’d ever get around to eating. We had no choice but to bump up the temp to push it along this time.

Next time, we’re planning on raising the smoker’s temp from 200 to 225 after about 5 hours, then moving it up to 250F if need be. This might help us get to the more ideal 195F internal temp – and sooner. We’ll let you know how it goes!

Pulled Pork Sandwich with Chopped White Onions and Ms. K's Homemade Coleslaw
Pulled Pork Sandwich with Chopped White Onions and Ms. K’s Homemade Coleslaw

Great results from this method and our first time doing pork shoulder on our Yoder YS640S. More Yoder experiences coming soon…

Filed Under: Grill School Tagged With: Bear Claws for Pulled Pork, Coleslaw, Killer Hogs Seasoning, Malcolm Reed, No wrap pork shoulder smoking, Pitmaster's Premium Choice Wood Pellets, pork shoulder roast, pulled pork, The Rub Shack, Yoder Smoker YS640S, Yoder Smokers

Advertisement


Recent Posts

Bubba’s No Fussin’ No Frettin’ BBQ Sauce

Those that know me know that I love my Telecaster and that I love my sauce - so … [Read More...]

  • Charcoal-Grilled Tri-Tip Steak Ultimate Feast
  • Whole Chickens on the Yoder YS640s
  • Where’s Summer? We’re Ready to Grill!

Follow us online

  • Twitter


Copyright © 2023