Grill Nation

All Griller. No Filler. 100% BBQ.

  • Home
  • About
  • Contact

Beef Tenderloin on the PK Charcoal Grill

May 21, 2018 By Ms. K

Beef tenderloin ready to grill

Beef tenderloin ready to grill


Mmm…we sure like our beef, and we are loving our PK360 Grill and Smoker. (Kicking off our second grilling season with it – very, very pleased.)

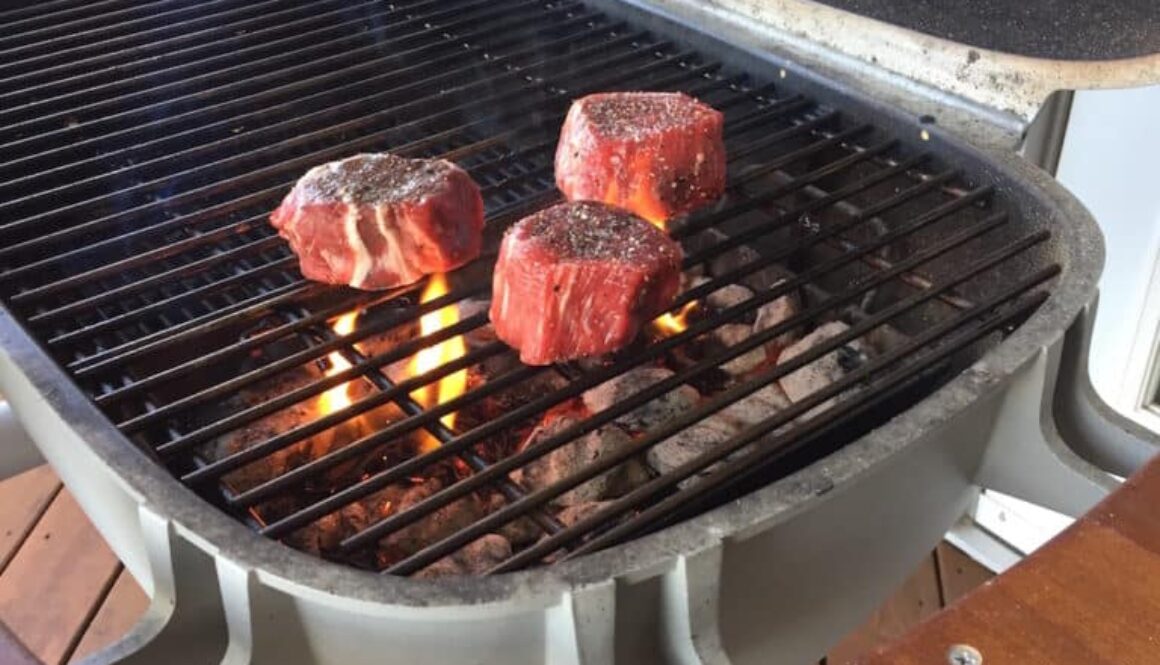
We’ve been hibernating a bit in these parts, but are dusting off the grill and starting things off with tenderloin steaks. Went super-simple tonight, seasoning a trio of good-looking tenderloins with salt and pepper – that’s it that’s all.


Preparing to cook on the PK Charcoal Grill

Preparing to cook on the PK Charcoal Grill


We’ve said it before, but we’ll say it again – the PK 360’s smart design means it’s a cinch to clean up, quick  to prep for grilling, and easy to tend while cooking. (Getting excited thinking of all we’re going to cook on it this summer…)


I have created fire!

I have created fire!


(Just an action shot as we get those coals  ‘a-glowing.)


The PK Grill in action

The PK Grill in action

(And flames make for cool pictures.)


Delicious – enjoyed with Heartland’s Director’s Cut – Cabernet Sauvignon (2013)

Success.

Served medium rare with a simple Greek salad and beautiful bottle of Cabernet Sauvignon.

Here’s to summer grilling!

Filed Under: Love Your Meat Tagged With: beef tenderloin, cabernet sauvignon, charcoal bbq, charcoal grill, PK Grill

Reverse Your Approach to Grilling with the Reverse Sear

August 28, 2017 By Ms. K

Steak that’s tender and juicy on the inside with a gorgeous, delectable crust on the outside. Sound good, right? In fact, it sounds perfect. That’s why you’ve got to try the reverse sear method.

Basically, the reverse sear method means smoking your meat low and slow at first, finish it off over the high heat of blazing-hot coals, and serve immediately. It may fly in the face of what you’ve heard all our lives (it did for us) – get the grill searing hot right away, throw the meat on for a few short mins on each side, then tent and rest. But, when you think about what we’re all after – juicy, beefy inside with a pleasing crust to seal it in – doesn’t the reverse sear make so much sense?

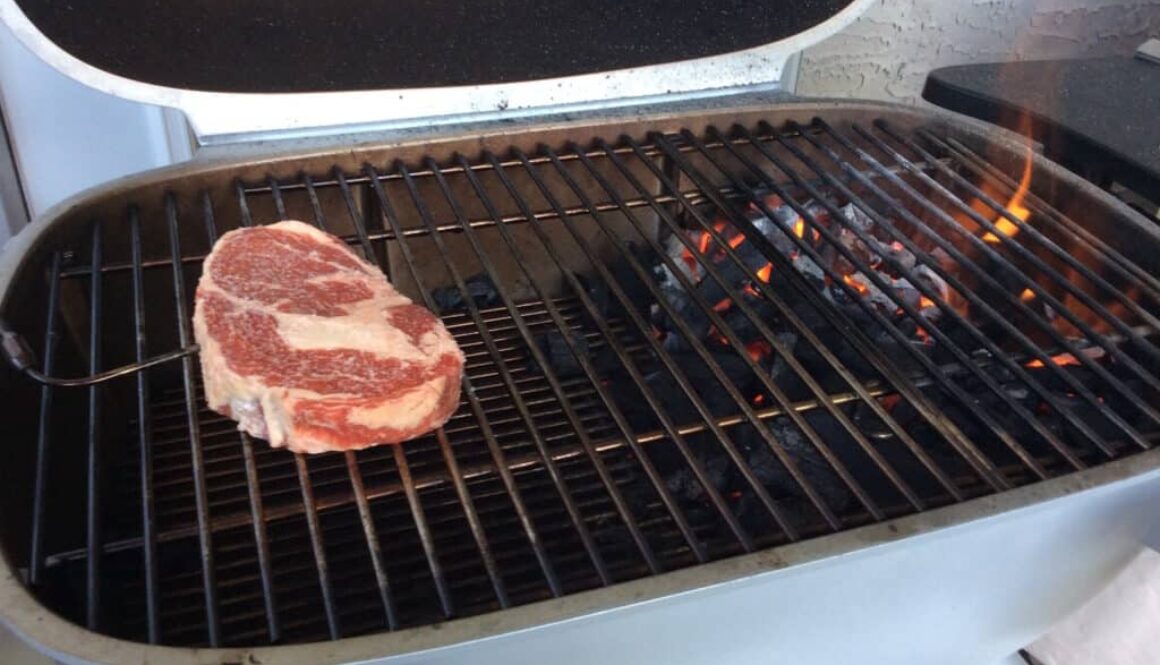
Two Cook Zones on PK Grill

Yes.

And it works.


We grilled up a thick ribeye using this method on our PK Grill – which is the perfect grill to accomplish the reverse sear. Not only is setting up two different heat zones side by side is so easy – a ‘cooler’ indirect heat side for smoking, and a hot direct heat side built up with a neat pile of fiery charcoal for the sear – the adjustable vents allow you to harness the power of the hot coals to turn the cool side into a smoker.

We really like the degree of control we have over temperature and smoke due to the adjustable vents on this unit (two in the lid, two underneath) which you can open or close to get things just right. We created direct and indirect sides in our PK Grill by opening the lower right side vent (the one underneath the coals for the searing stage) and also opening the “opposite” vent (the upper left vent), keeping the other two vents (lower left and upper right) closed. This allowed air to come in through the lower right vent to superheat the coals. It also allowed the smoke from the hot side to be drawn toward the open upper left vent, drifting over the steak while it cooked on the indirect heat side — and thus smoking it low and slow.

Prepping for High Heat with Bacon Fat

In terms of numbers, we aimed to get our indirect heat side to about 250 degrees Fahrenheit. Again, we could achieve this level of precision by adjusting the vents described above and monitoring the temperature of the grill and the meat with our handy Fireboard digital thermometer (read our Fireboard post for more info). Our ribeye smoked on the indirect heat side for ~25 minutes, with the lid closed of course. We monitored the temperature of the meat (also with the Fireboard thermometer) and cooked it until abou1 110 degrees before the sear stage (we were aiming for a final temp. of ~130 degrees for a beautiful medium rare).

High Heat Searing Action

The direct heat side took about one chimney starter full of charcoal, and we tossed on a block of white oak for good measure. When we were ready to get the situation sear worthy, we opened up the lid as well as all the vents and got our coals as hot as hot can be. (For added ribeye yum, we used the decadent technique of slathering the meat with bacon fat just before putting it on the high heat. The salty, bacon-y goodness melts into the steak which will soon melt in your mouth.) Not surprisingly, we got some flare up with all that fat and heat (which looks dang cool in pictures, right?, and they key was turning them meat often – every five or ten seconds – for not much more than a minute, in order to caramelize and not burn the outside.

The next critical step is to serve a.s.a.p – no resting. With the traditional high heat/short cooking time method you’re resting the meat to get the juices that have be retreated center-ward from the heat to redistribute inside. With the reverse sear, there’s no need because the meat has basically cooked slow and low with a quick sear at the end (thus no panicky, retreating juices). In the end our reverse-seared ribeye was off-the-hook tasty.

Glorious! (So glorious, in fact, we needed to pair it with a gorgeous wine from Bordeaux – a 2006 Chateau Monbousquet from Saint Emilion. A dinner for the ages!)

Winner, Winner – Ribeye Dinner

– Ms. K

Filed Under: Grill School Tagged With: bacon fat on steak, charcoal grill, PK Grill, reverse sear, ribeye steak

PK360 Grill and Smoker Unboxing

July 6, 2017 By Ms. K

PK360 is Here!

Our Summer of Grill keeps getting better and better! We just received our awesome new PK360 Grill and Smoker – the newest iteration of the popular PK (“Portable Kitchen”) Grill. We were attracted to it for the ability it’s going to give us to set up different cooking zones at the same time (‘cooler’ on one side for slow and low, and ‘hot as heck’ for searing) and its smart ash clean up design (more below). Plus, we were able to take advantage of a sweet Father’s Day discount and scooped up some accessories and bonus gourmet rubs as well. Check out our little ‘unboxing gallery’ here and get inspired…


Well-Packed PK360 Grill and Smoker

Funny how the most durable, least fragile things are packed so well (!)…not that we’re complaining. Everything arrived in super shape. Two of us made lifting some of the heavier items out of the box a tad more convenient.


Some High-Quality Parts!

You’ll be immediately struck by the high-quality cast aluminum capsule. A work of smoker art — and hard to imagine ever having to replace it.


PK360 Parts and Bonus Toys

We went a little grill-happy and added some accessories, like the rib rack (in the orange box), the high-quality cooking utensils (they come with convenient hooks for attaching to the shelves when not in use). We’re especially excited about the The Great Scrape Woody Paddle (pictured to the left of the capsule) which we’ll use for cleaning the grates. It’s just a flat panel now but it will ‘groove’ as we scrape the grate clean, conforming to the exact size of the wire racks over time (for cleaning those nasty nooks and charred cling-ons).


Assembling the parts…

Working some assembly magic with an allen key…


Coming together…

The instructions were easy to follow and the unit quickly came together…


Assembled and Ready to Grill!

A beauty…almost there! BTW, above you’ve got a good shot of the 4-point venting system ‘controls’. Note the circular vents on the top of the lid (that’s one and two); you control vents found inside the bottom of the capsule with the two round black dials under the unit (that’s three and four).


Removable Black Durabilium Shelves – Comes Standard with PK360

Two black ‘durabilium’ shelves come standard with the PK360 to provide a handy prep/food staging surface.  The shelves can be removed if you want to lift the capsule off the stand and haul it somewhere (remember, PK= “Portable Kitchen”). We’re considering upgrading to the PK360 Teak Shelves – in our view a bit more attractive – but frankly the standard shelves look and work just fine. (On our first few grillings, we thought we dedicated a hint of plastic smell resulting from the high heat of the capsule, but it seems to be going away with more use.)


Convenient Hinged Grid

The hinged grid is ‘grate’ (groan.) Seriously, you can easily lift it with tongs while cooking when you need to make adjustments to the coals without doing contortions over fire. And it stays propped up on its own (as you see pictured) so it won’t flop onto your meat.


Raised Vents to Control Internal Airflow

These raised vents (shaped like little ‘volcanoes’, in the bottom of the capsule) are just plain smart… You top them with the ‘lid’ show above that hovers just above the openings on the legs on either side of the hole – this protects your deck or patio or wherever you’re cooking from ash falling through the bottom while still letting air circulate from the bottom of the grill. You control the degree to which the holes are open with dials on the front of the grill, and as we showed you above, you also have vents in the lid of the capsule. (In the picture below, you’ll see that there are two ‘rows’ of vent holes. )

Check out this great features overview demo video at pkgrills.com showing off the 4-point vent system.


Manage Ash for Convenient Clean Up

As notes, your vents are protected from the ash during cooking. This ‘plug’ is where you can push all the ash and dump it into a bucket or bin when you want to clean up. Super easy.


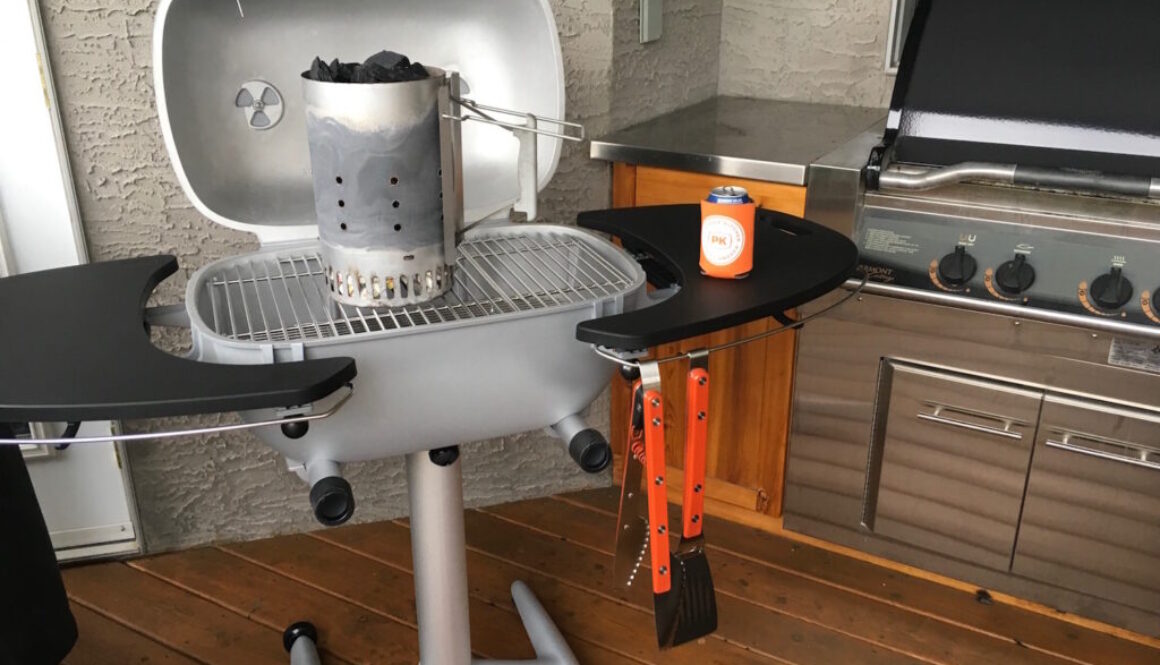
PK360 Lighting the Coals with Weber Rapidfire Chimney Starter

We lit things up for our first PK360 meal (rib-eye steaks) with our Weber Rapidfire Chimney Starter. Watch for more on the PK360 – amazing griller/smoker so far.


More info:

Want to buy one now? Go right to the PK360 page on the official PKGrill site.

Or visit www.pkgrills.com for detailed information.

-Ms. K

Filed Under: Buyer's Guide Tagged With: bbq, charcoal grill, PK360 Grill and Smoker, smokers, Weber Rapidfire Chimney Starter

Advertisement


Recent Posts

Get Your Grill On: 5 Keys To Grilling Success

Whether you're a raw rookie behind your first grill or a seasoned veteran who … [Read More...]

  • Winter Cookery: The Thermal Jacket for the Yoder YS640s
  • Baby Back Ribs on Yoder Smokers YS640S Smoker
  • Pork Shoulder on the YS640S Yoder Smoker

Follow us online

  • Twitter


Copyright © 2022