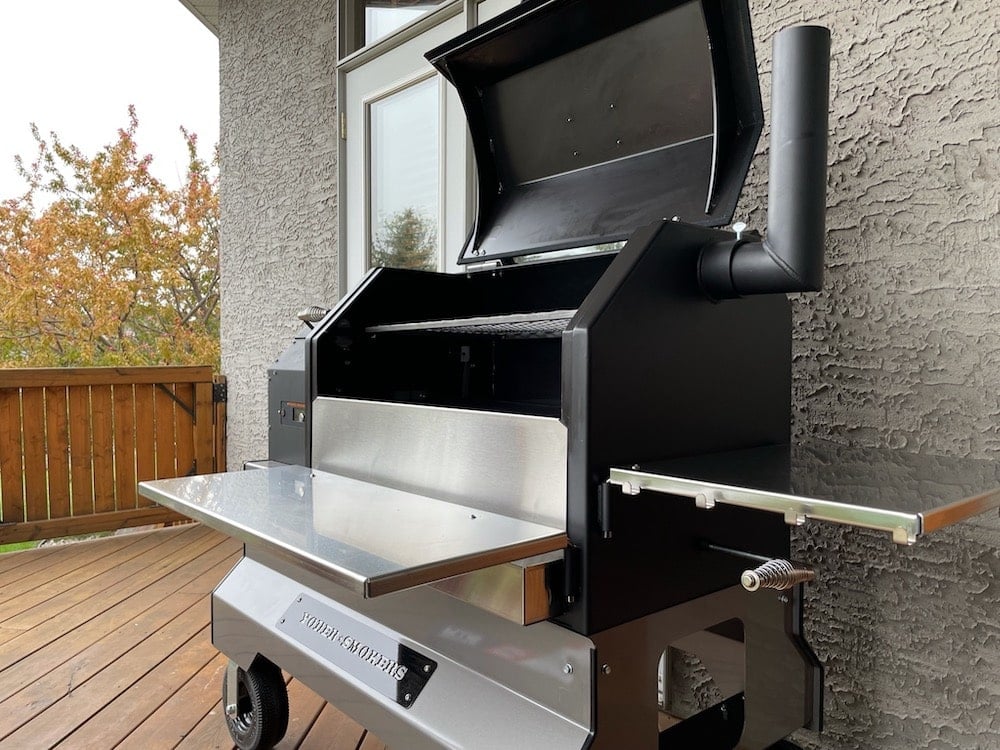
One of the primary reasons we invested in a Yoder YS640S Smoker was the ability to make a mess of baby back ribs. Our first attempt turned out really well, and we learned a few things for next time (which is right around the corner). Let’s get right to it!
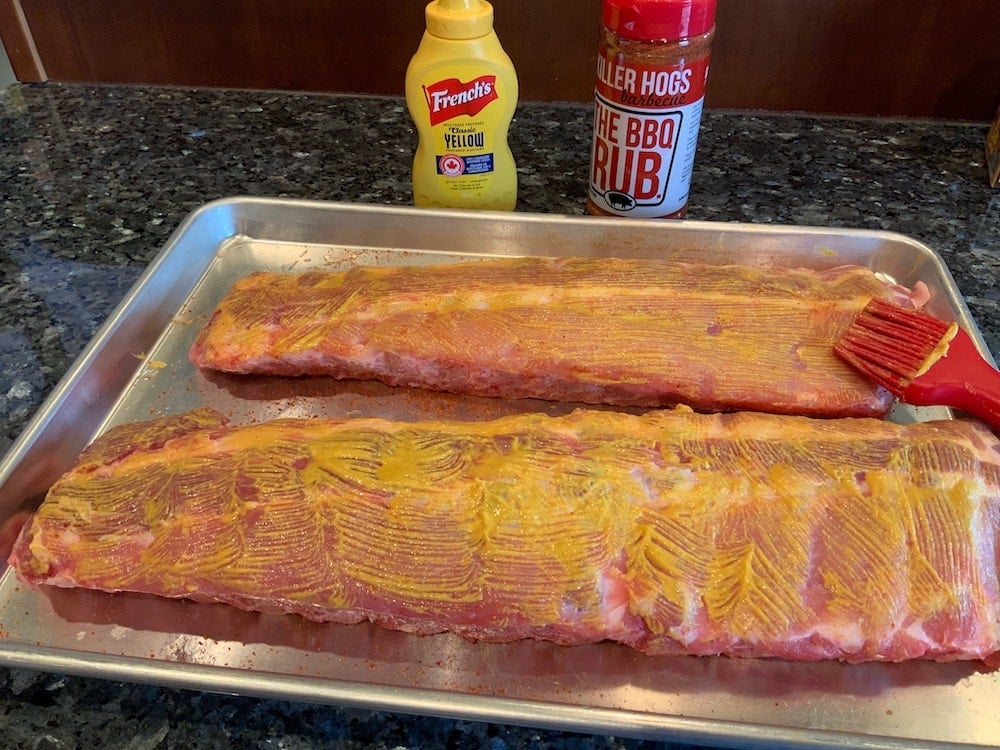
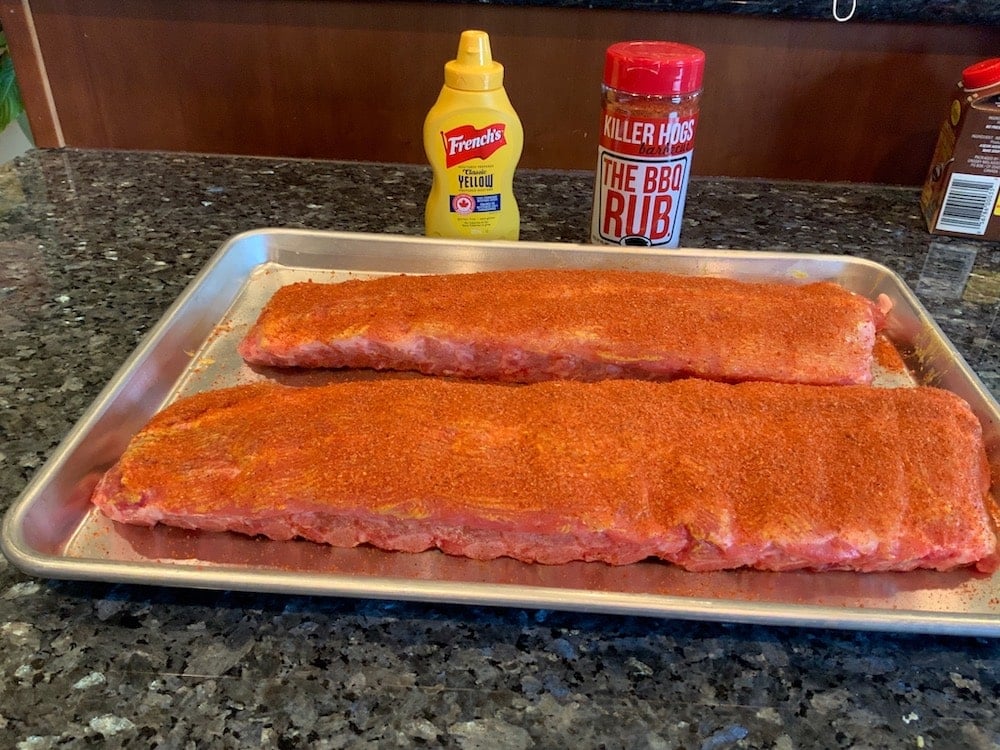
First, after zipping off those membranes, we prepped two racks of baby back ribs by brushing on a coating of yellow mustard and a generous sprinkle of Killer Hogs The BBQ Rub.
Meanwhile, we filled up the smoker’s hopper with pellets and got it heated to 225 F. For reference, it probably took about 20 minutes or so to get to temp. (We’ve been allowing about 30 mins. in our planning for the heat up process just to be on the safe side – and have never been sorry.)
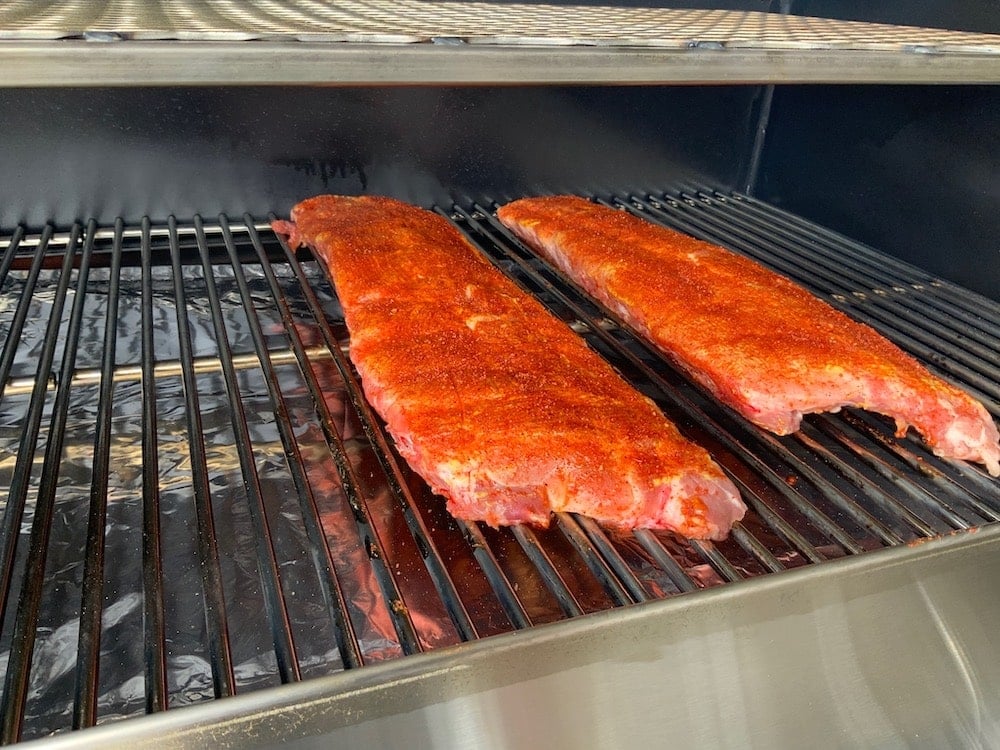
Once the ribs went on, the whole process was set to take about 4 hours, give or take. Unlike some other meats, we weren’t using a probe with ribs (too finicky) – instead we planned to cook according to some timed steps, and a bit of peeking. Basically: 2 hours of low and slow cooking and smoke absorption, ~ 2 hours (or less) with racks wrapped in foil, and about 30-40 mins unwrapped and sauced.
The first step was to get the ribs onto the smoker. For the next two hours, it was all about low and slow cooking, and allowing the ribs to absorb all that smokey goodness.
With the ribs taken care of for the next while, we moved back into the kitchen and mixed up a tasty pot of Boston Baked Beans as our featured accompaniment. (We used a slightly different recipe than the one linked to here – our recipe came with the pot – but there seem to be a few variations out there. The beans themselves seem quite forgiving and flexible!)
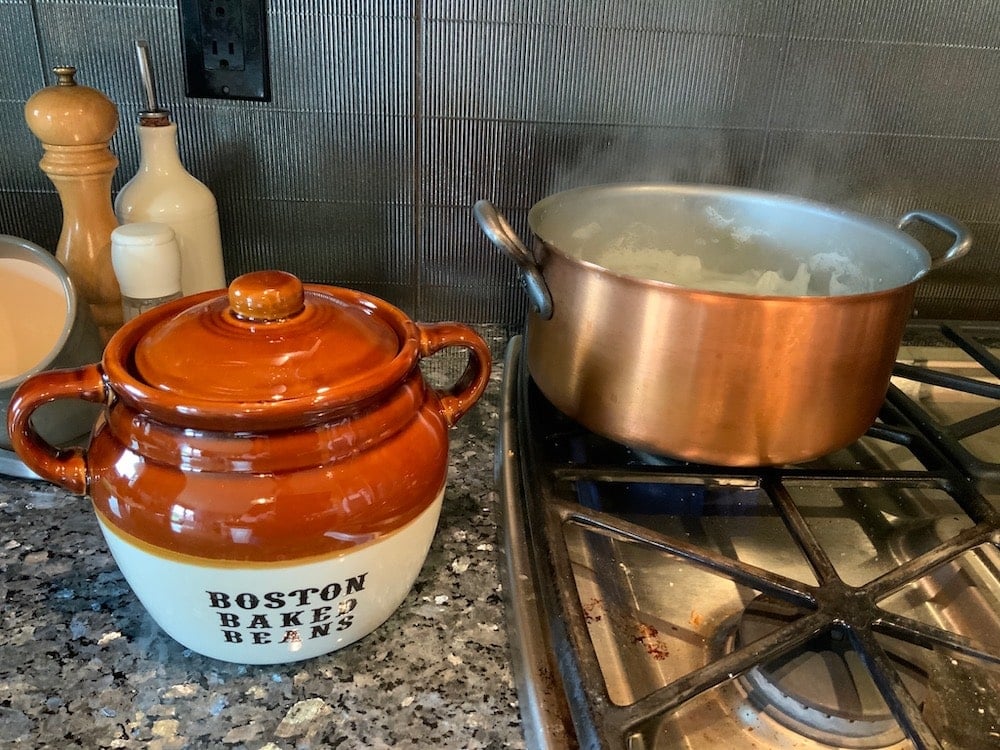
We took a pound of navy beans, pre-soaked overnight, and brought them to a boil to soften them up. We then mixed them up in our super-cool, authentic Boston Baked Beans pot with thick cut bacon, molasses, brown sugar, onion, s&p, spices… Even at this point this tasty side smelled goooooooood. This baked in a 300 degree oven for a good 3 1/2 hours, so it was a good match timing-wise for the ribs.
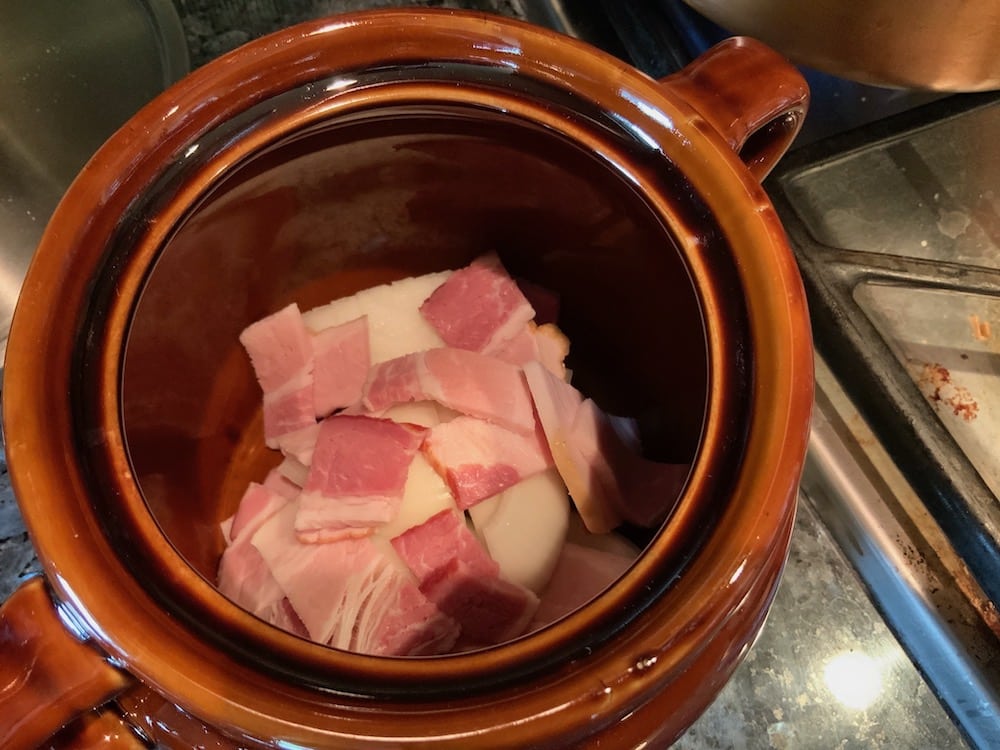
Of course, we could have made the beans in advance and simply kept them warm for dinner, but making them while the ribs did their thing on the smoker happened to work great.
All right – back to those baby backs! With the beans doing their thing in the oven, after about two hours of smoking on the Yoder it was time to bring the ribs in for some TLC. They’d taken in a great smoke flavour, but we weren’t done yet.
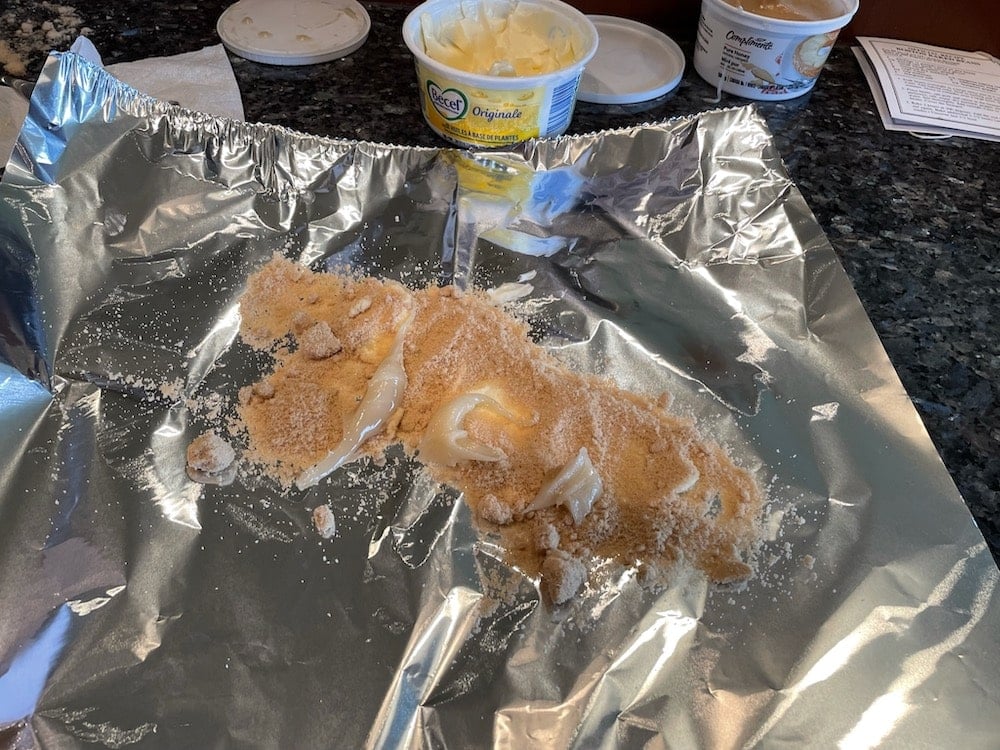
To hasten the cooking (and eating) process and keep everything moist and wonderful, we used the ‘Texas crutch’ technique. To prep the crutch, we laid out a sheet of foil for each rib, smearing them with some margarine, a sprinkle of brown sugar and a drizzle of honey to create a tasty, moisture-enhancing glaze.
Note to ourselves (and maybe to you, too) – we went a little heavy handed on the spread this time around. We’ll be more sparing in the future. You’re not making a sauce here, you’re just giving the meat a ‘crutch’ to hasten things along.
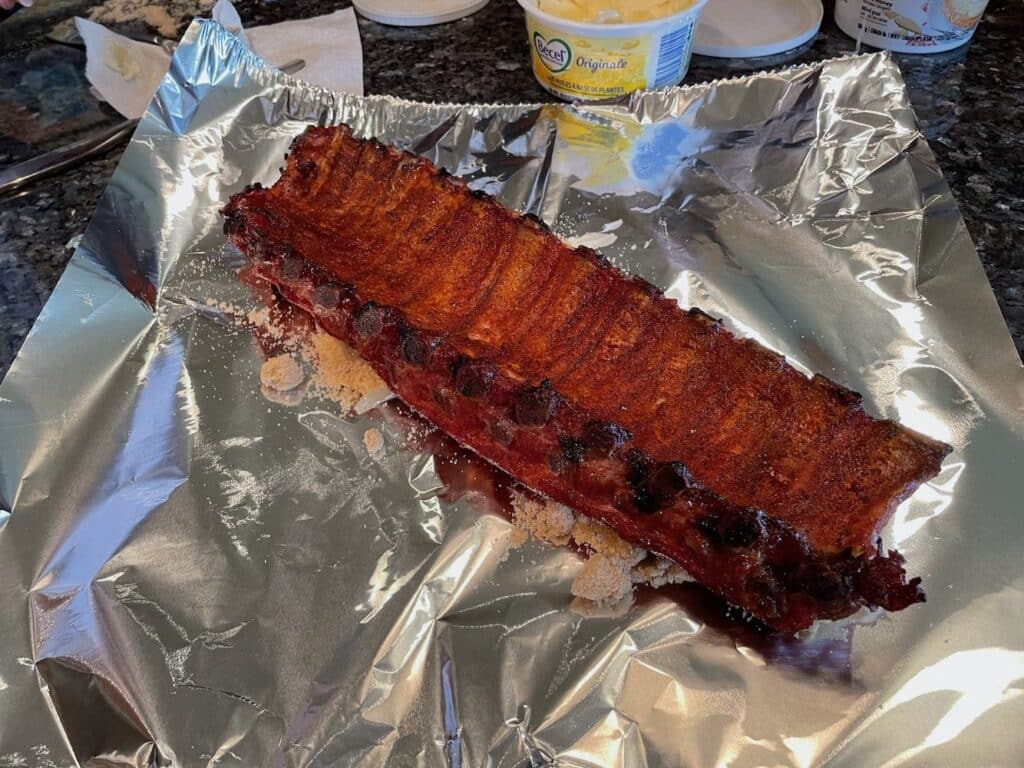
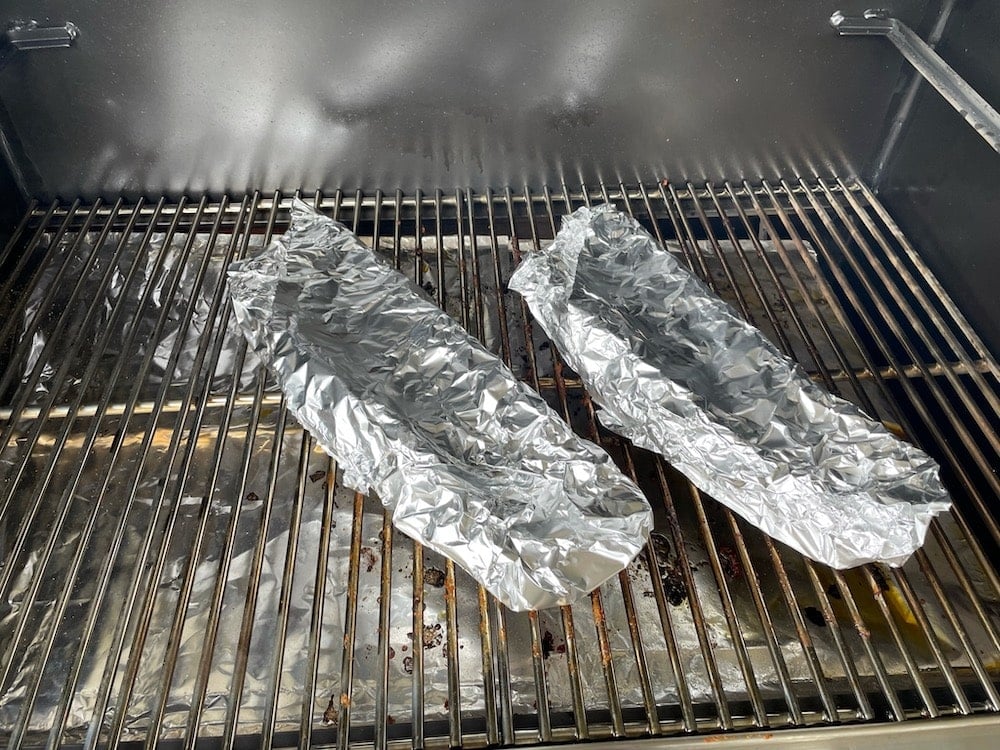
Wrapping the racks snugly is a crucial part of the crutch to be sure to prevent leaks. Once this was done, our ribs went back on the grill for another 2 hours.
For these particular racks, we actually found that this step was a bit long. The meat was literally coming off the bone – and while still ultimately tasty, it wasn’t ideal. Pitmasters actually strive for a situation where you can bend the rack and see the meat crack. You’re not wanting the rack separate into pieces (see below). We’ve since found that an hour and a half is more like it!
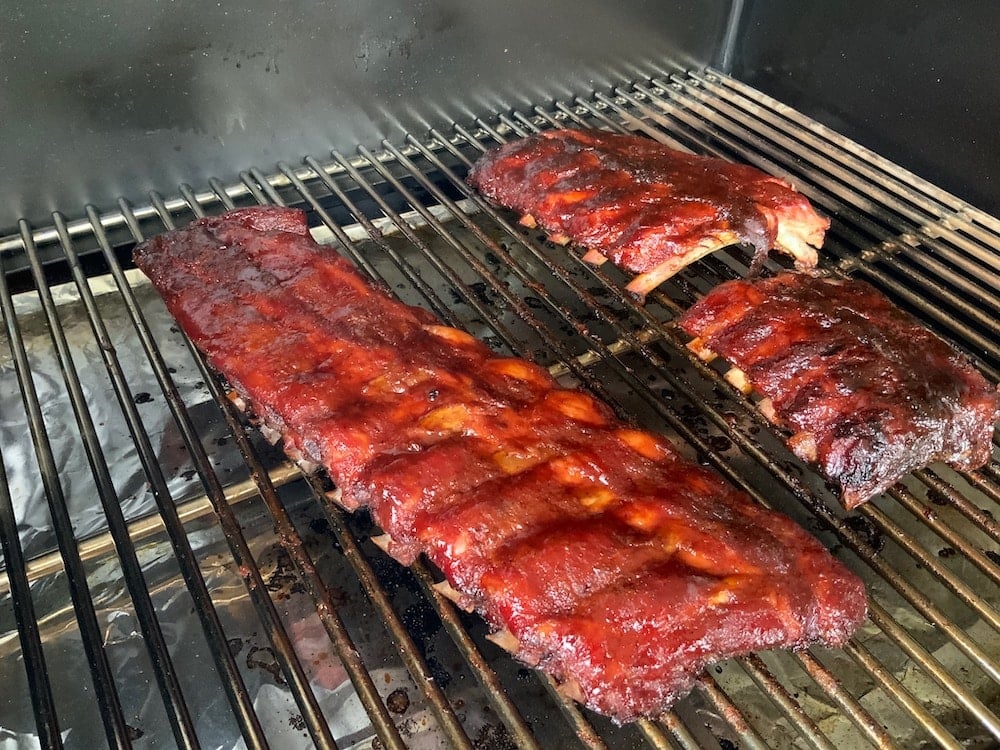
We knew at this point that our ribs were a bit more done than we wanted, but we continued with the plan anyway. We removed the racks from the foil and sauced them up. They then went back into the smoker for about 30-40 mins. more until the sauce got tacky. (You want your fingers sticky, right?)
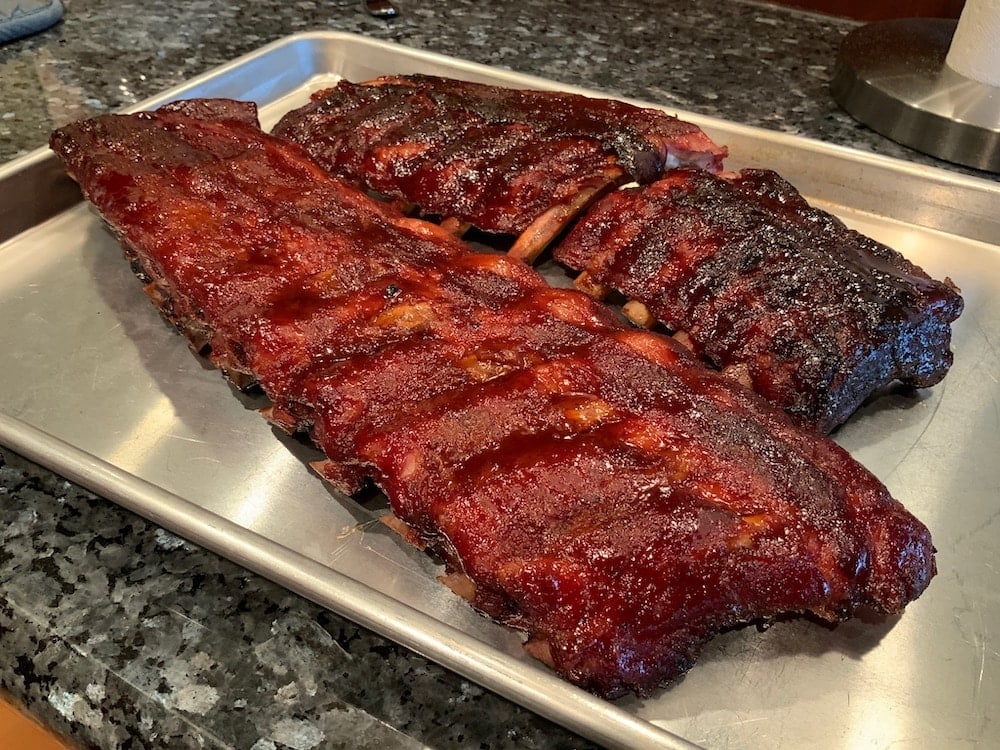
All in all, not bad for a first try.
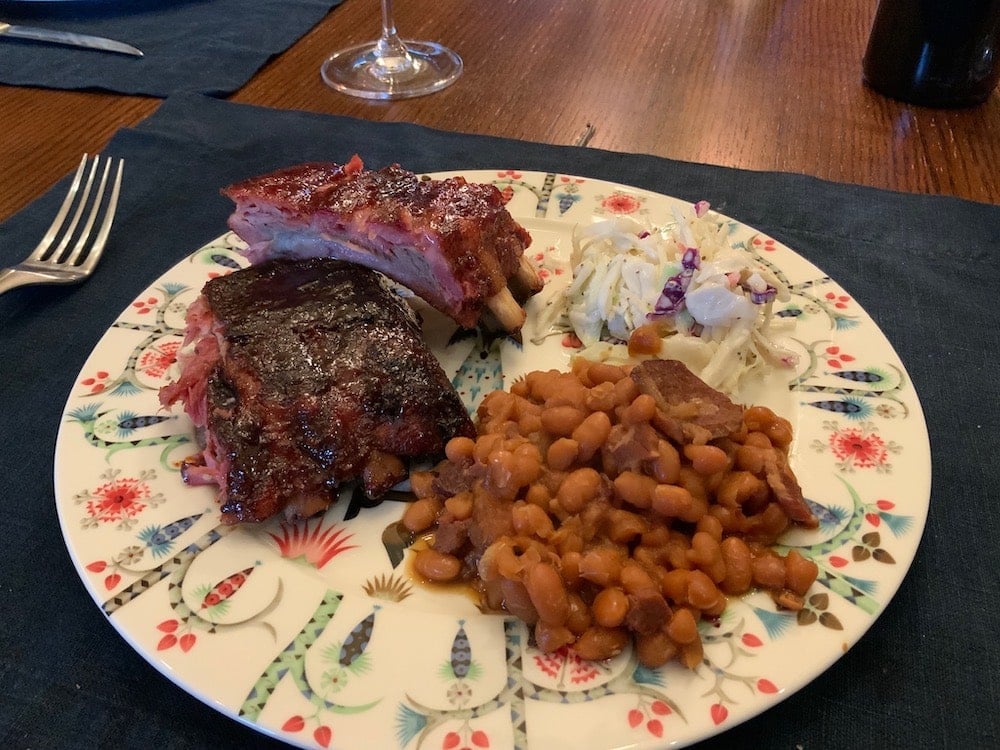
Baby back ribs, Boston baked bean, and Ms. K’s Homemade Slaw made for a pretty fine meal.